DANGER WILL ROBINSON! This article has been archived, and we can no longer stand behind the opinions and testing represented in this article.
Introduction
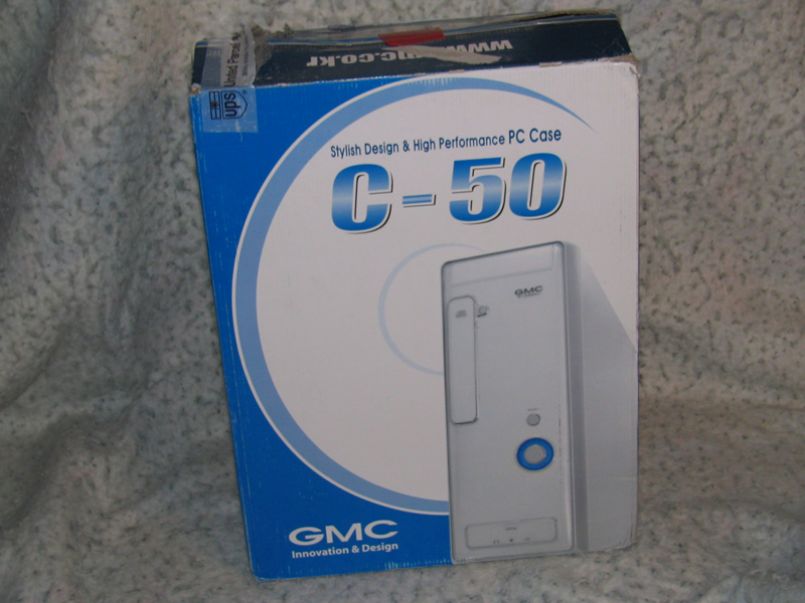
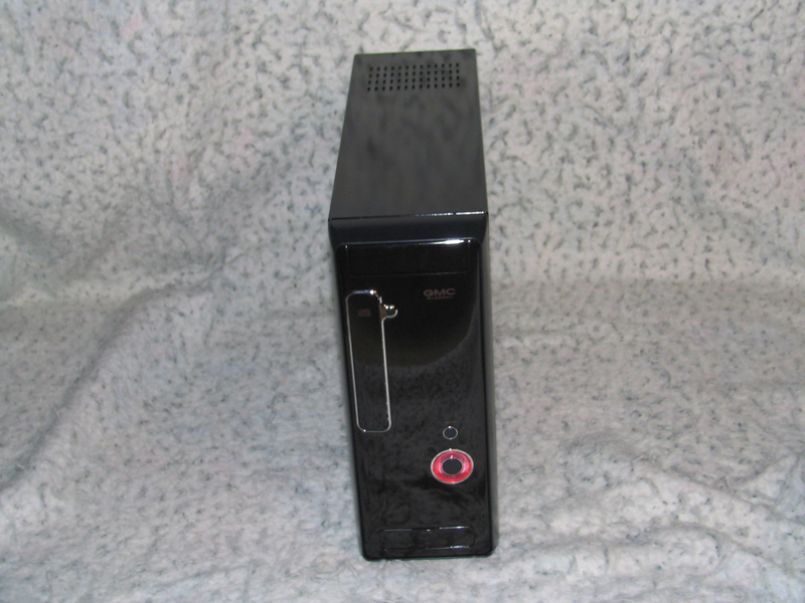
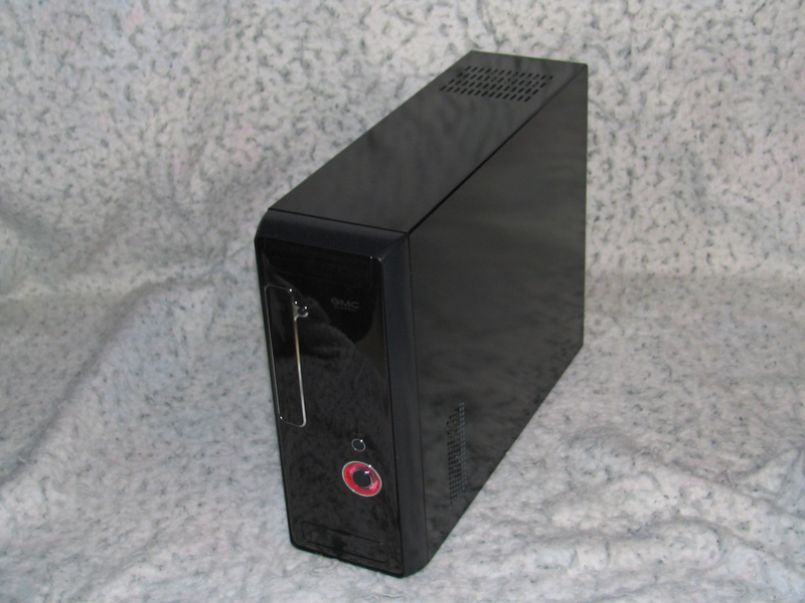
The GMC C-50 Case is a slim ATX case. By slim, we mean that the case is thinner than an optical drive is wide (5.25 inches). The CD-ROM bay is positioned vertically, so when the case is layed on it's side it qualifies as a desktop. Thankfully, even with the smaller dimensions, this case still fits a full size ATX powersupply and ATX Motherboard. Read on to get the details of this case that you can't yet get in the United States!
Specifications, Features, and Packaging
From the get-go, the C-50 has an impressive form factor for what it manages to pack inside.
- Dimension ( W x D x H ) Chassis 140 X 435 X 360mm
- Black or White in Color (we got black)
- 4 USB Ports, Audio-Out, Mic-In
- ATX Form Factor
- 1 5.25", 1 3.5" External, 2 3.5" Internal
- 7 Expansion Slots
- Fits ATX, Micro ATX, Full ATX, and Mini-ITX motherboards
- Net Weight: 3.95Kg, Gross Weight: 4.65Kg
- Reflective Finish
- Rear 80mm Fan
- CPU Air Duct
Cheers to GMC for their quick shipping from Korea! The case was packed in a full-color package measuring 192 X 540 X 412mm, which isn't much bigger than the case itself. As normal for cases, it was secured by two pieces of styrofoam on either side, and GMC kept the case itself wrapped in plastic to avoid dust. After removing the plastic, we found ourselves staring at a very attractive case.
External Looks
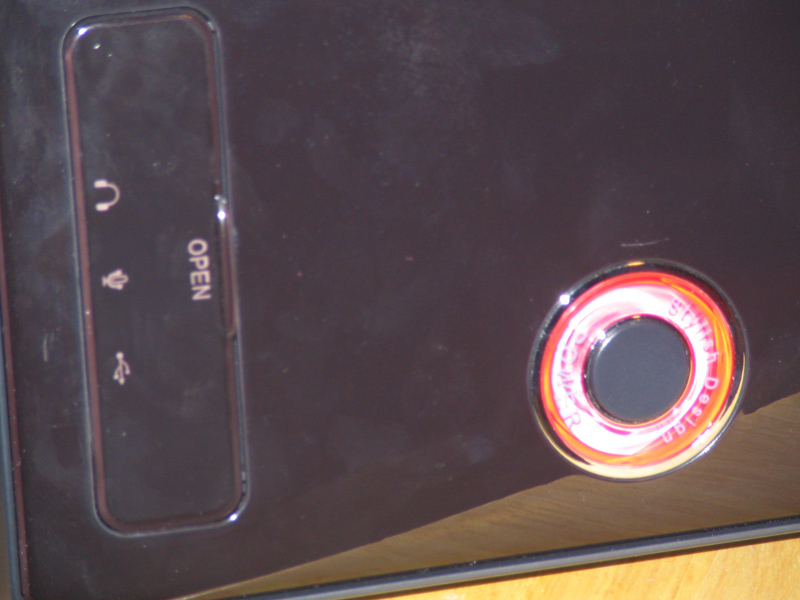
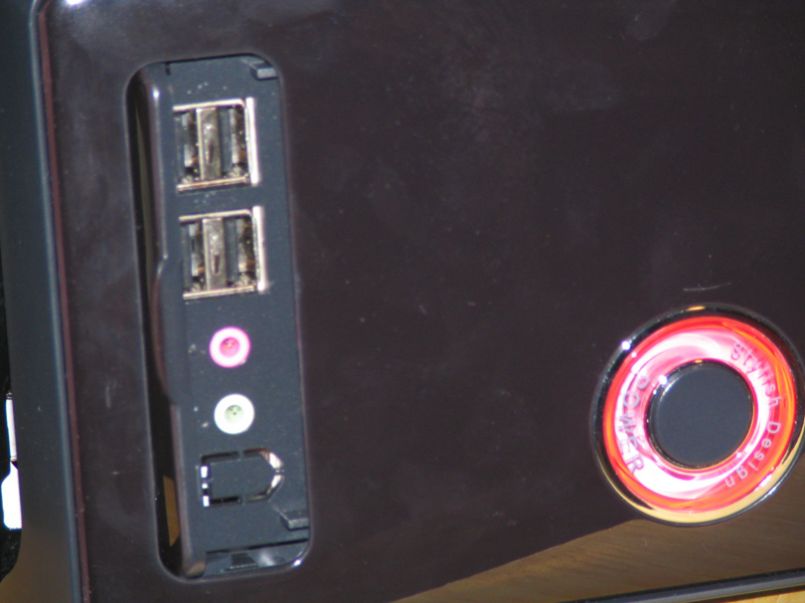
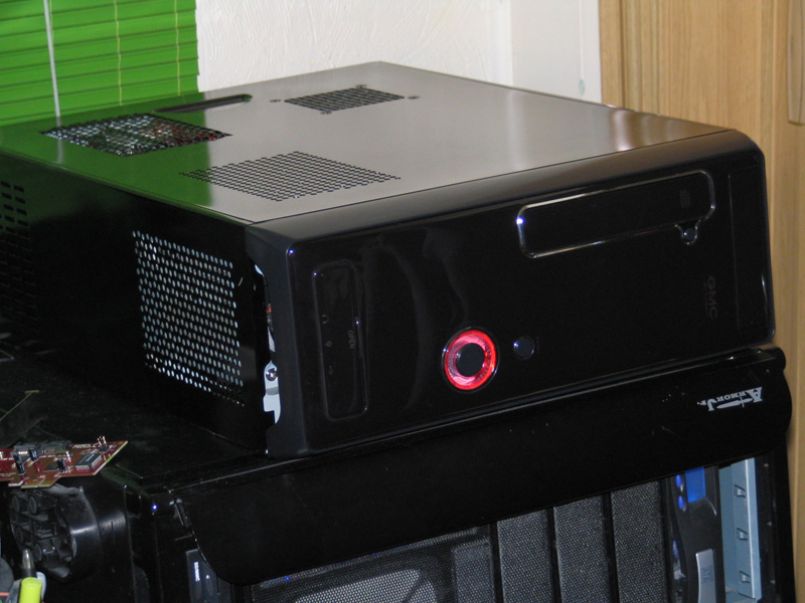
The GMC C-50 is a beautiful case. At first glance, the case is a shiny black that you can easily see your reflection in. The front bezel has a curious curve to it, something I don't think photos do justice for. The CD-ROM bay lies behind a silver-trimmed door, ensuring that the appearance of your case isn't hindered by an optical drive of another color. The power and reset buttons of this case are probably the best buttons I've ever seen come default on a case. The power button is surrounded by a red rim, which presumably lights up when power is applied. Both buttons are highlighted with a silver trim, much like the optical drive bay, and both feel very secure and firm when pressing. These aren't buttons you can simply bump.
 At the bottom of the front panel there is a door that folds down to review 4 USB Ports, audio-out, and microphone-in ports. There's also a spot for an optional Firewire port, but ours didn't come fitted with one. The USB Ports are rather close together, so I couldn't expect to be able to plug 4 flash drives in at the same time.
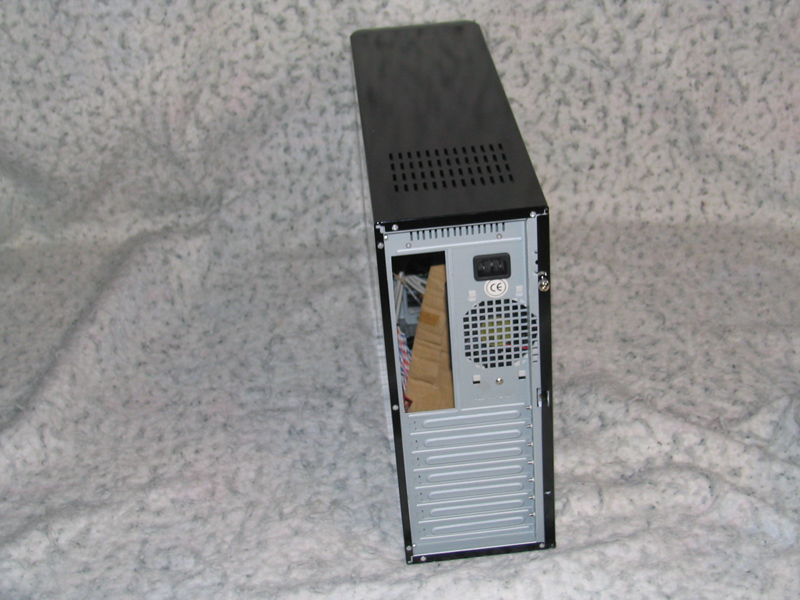
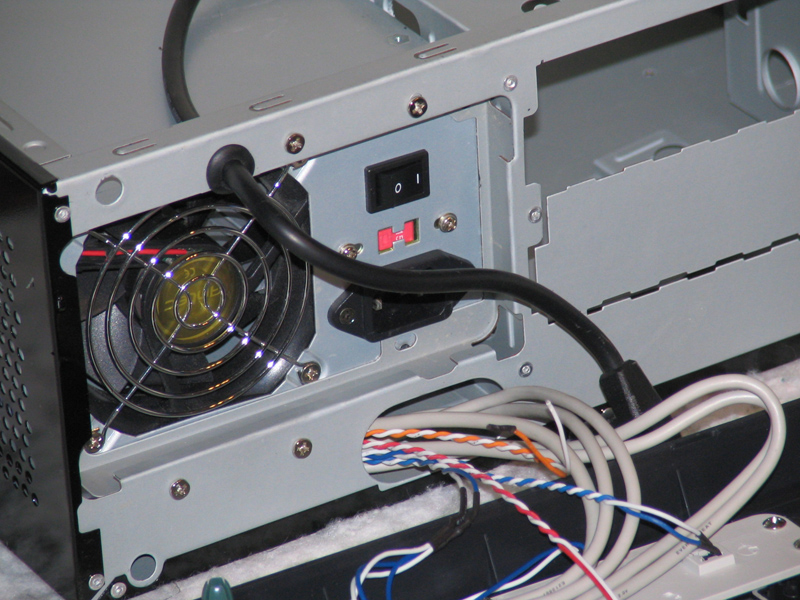
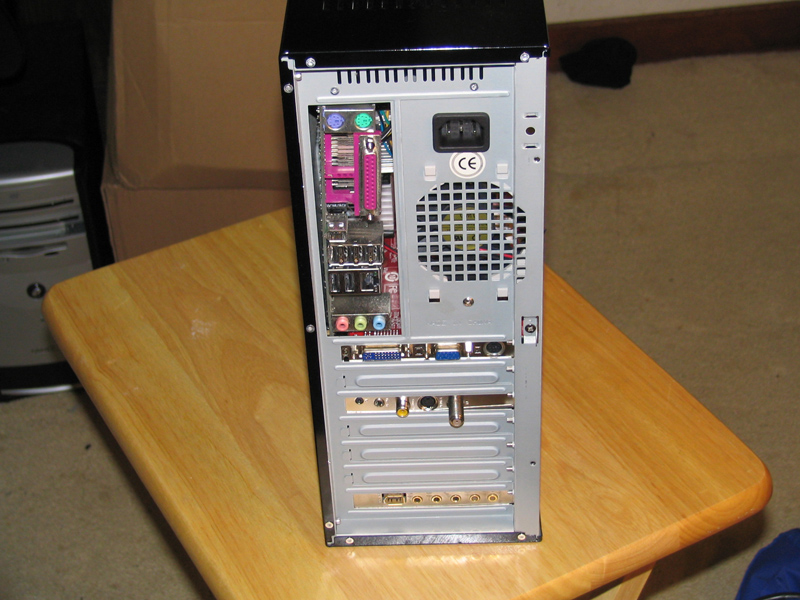
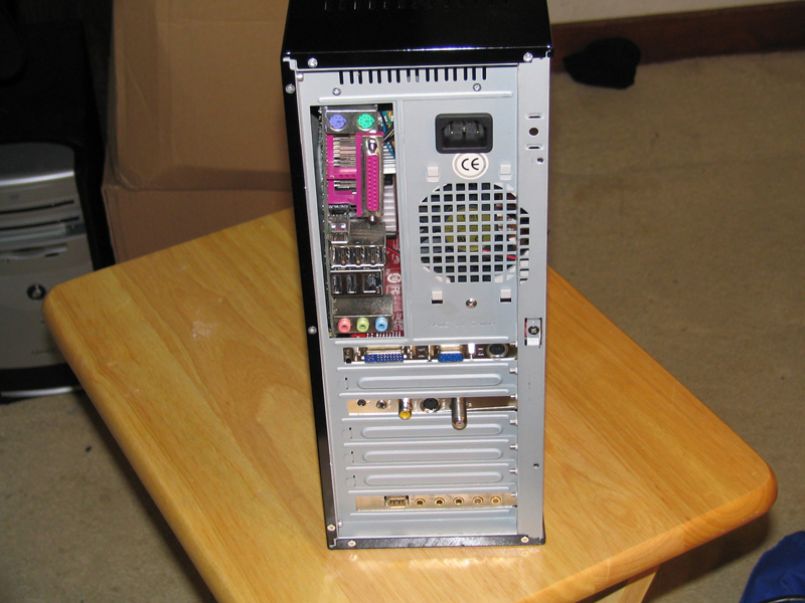
 On the rear, we can see everything we'd expect to see: Rear exhaust fan, motherboard & pci slots, and a powerplug. The part that sticks out is the lack of a powersupply. Don't be fooled, it's not a small form factor powersupply. The powersupply, in fact, is at the front of the C-50, but a power cable runs to the rear. Slick stuff, isn't it?
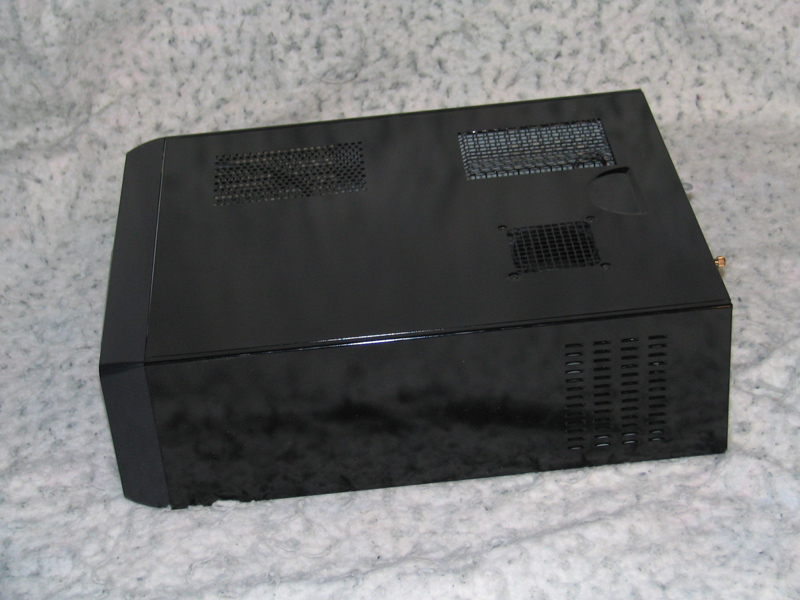
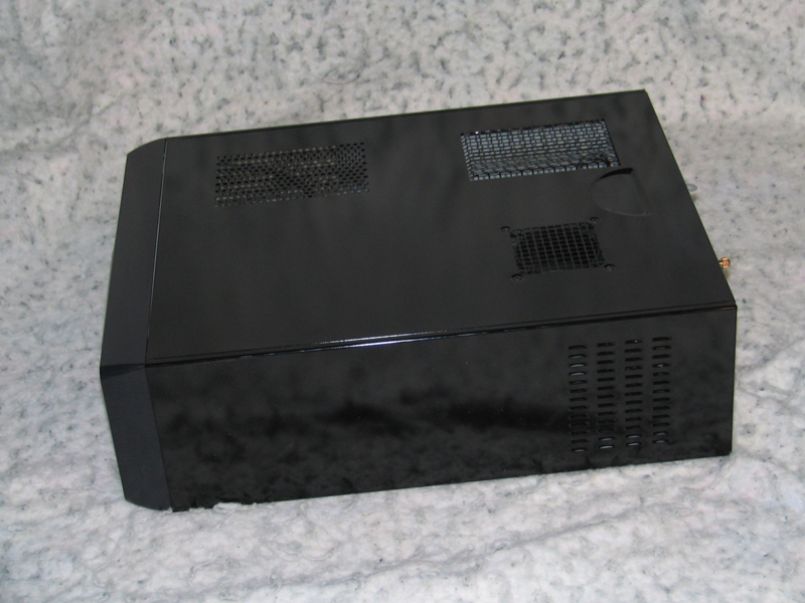
 The panel that comes off to reveal the motherboard tray is fitted with three separate vents. This is something you may not necessarily find in other cases. One of the vents is an air duct for the CPU, while the one directly below it is over where your PCI cards are; you've got to have ventilation for the latest videocards. The last vent, near the front of the case, is the oddest. Normally, your harddrives are around this location. In the case of the C-50, this is where your powersupply resides. This vent is for powersupplies that have fans on their underside.
Innards
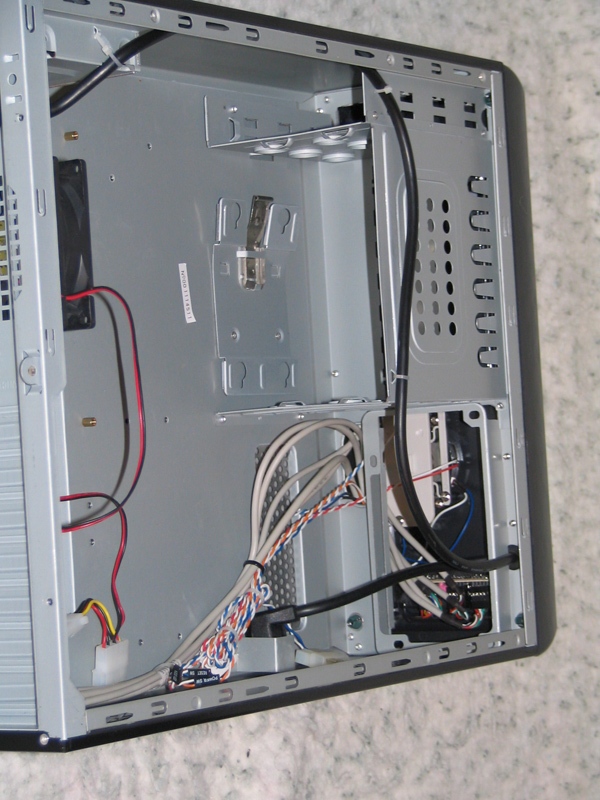
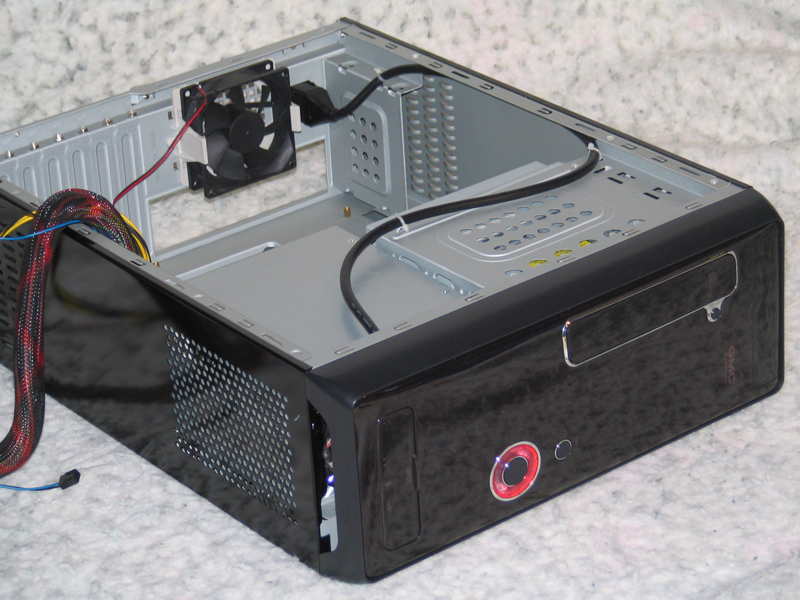
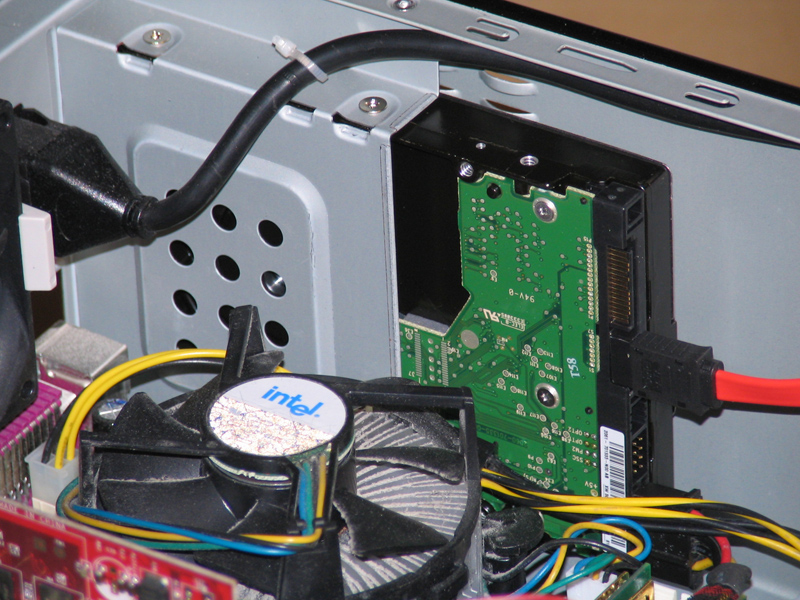
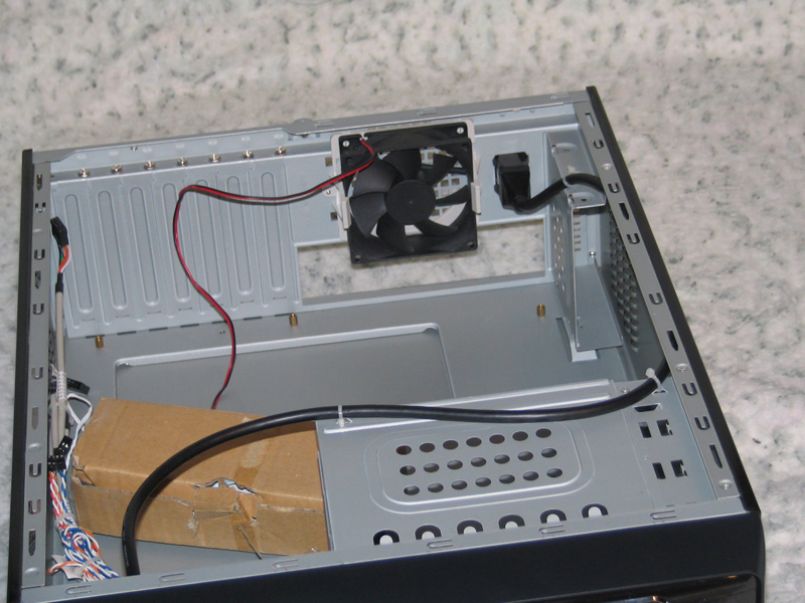
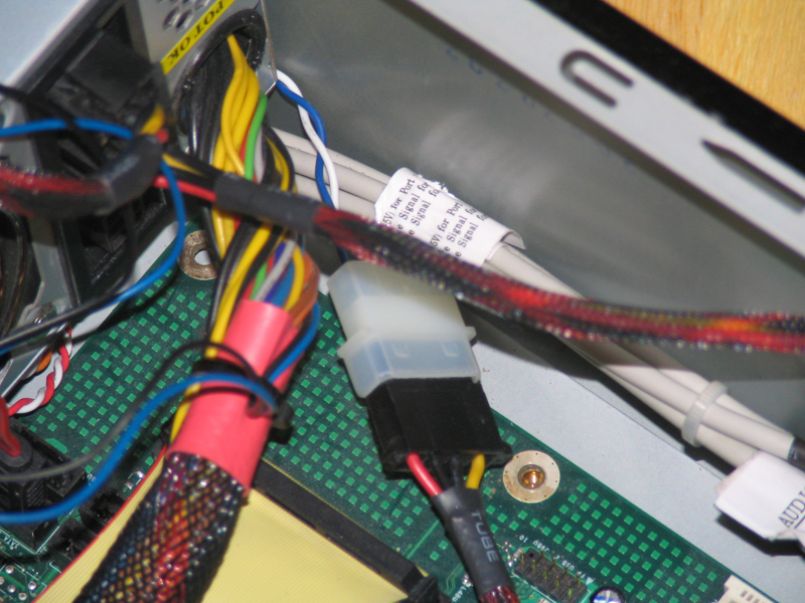
After removing this panel you're greeted by the scent of metal and electronics; is there anything better? The hard drive bay is directly above the motherboard and rear exhaust fan, and you can notice that while the powerplug is still in the back of the case, there is a wire leading to the front of the case, since this is where the powersupply actually is. Wouldn't it be awkward to have a power plug on the front of the case? I was impressed that they routed the cable themselves. Most companies wouldn't pay attention to such a detail.
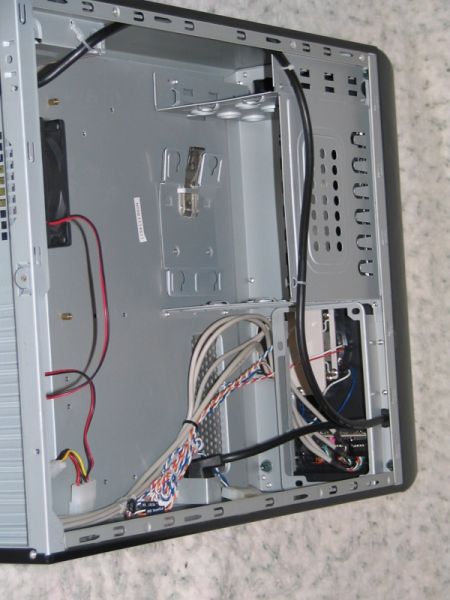
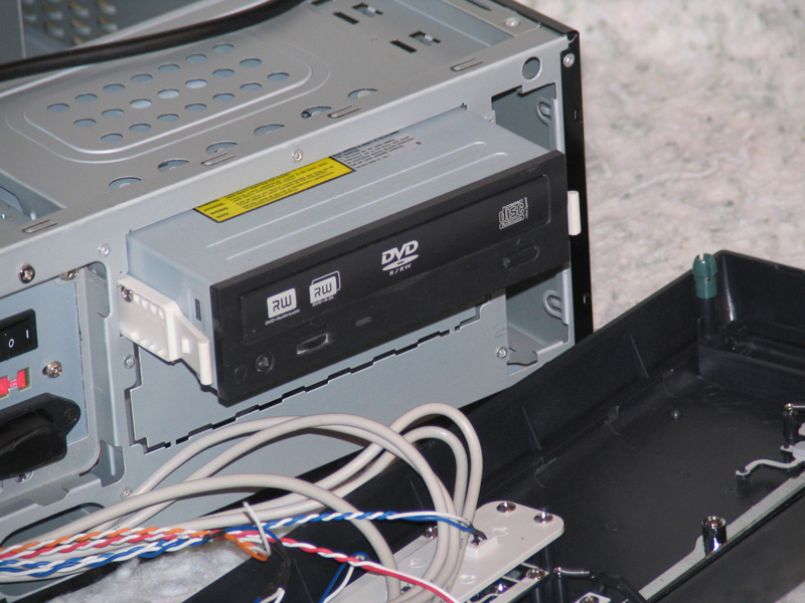
 Glancing at the front side of the inside (try saying that 5 times fast), we have the drive bays and powersupply section. While the optical drive sits vertical rather than horizontal, the floppy drive remaines horizontal. There's also a second 5.25" bay, but it isn't accessible from the outside. You can get another hard drive in this space, but anything else will probably butt heads with the motherboard.
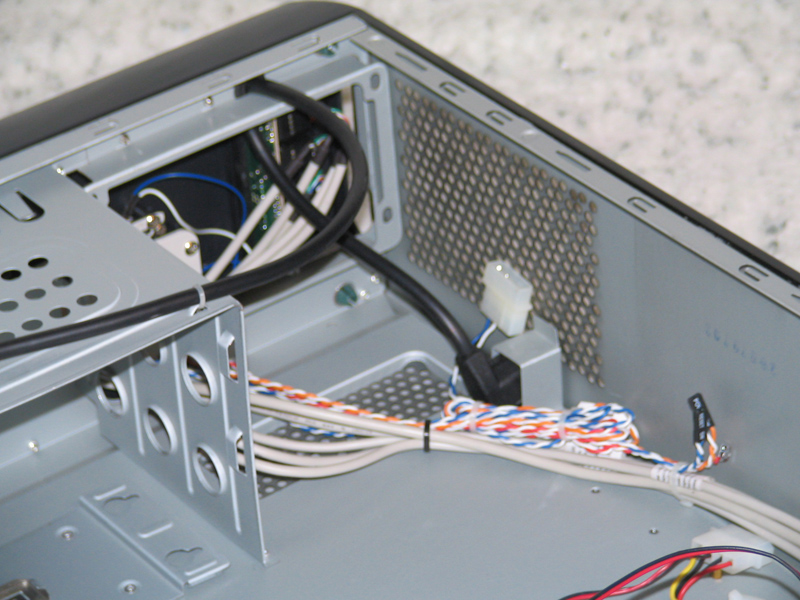
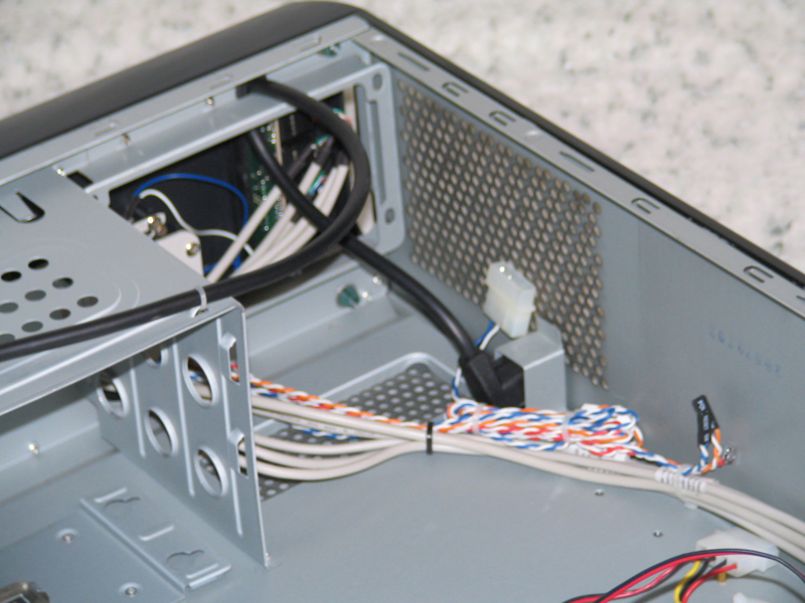
 The section reserved for the powersupply is surround on three sides by vents, so you don't have to worry about much heat buildup if you're considering installing a high-wattage powersupply. There is a spacer on the bottom of the case meant to hold the powersupply up at the level of the bracket on the front of the case. I was surprised to feel how sturdy this little spacer was. Before installing the powersupply, it's probably a good idea to untie all the front panel cables.
Installation
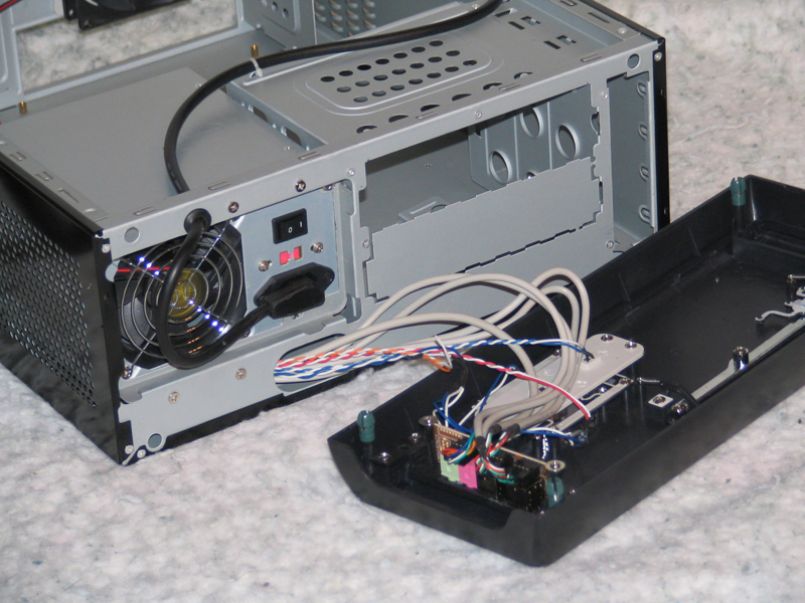
I decided to start installing parts into this case with the optical drive and powersupply. These are probably the easiest components, and the motherboard should be able to fit in after them. To install either of the items, the front panel must be removed. Thankfully, it's attached in four places and pops off without much effort. The powersupply went in very easily, thanks to the spacer we looked at earlier. Once it's securely screwed, you can plug the power cable that runs to the rear of thecase.

 Next up is the optical drive, which is much more trivial than the powersupply. To GMC's credit, the optical and floppy drives are both installed using rails, eliminating and necessity to ATTEMPT fitting a screwdriver in at an awkward angle.
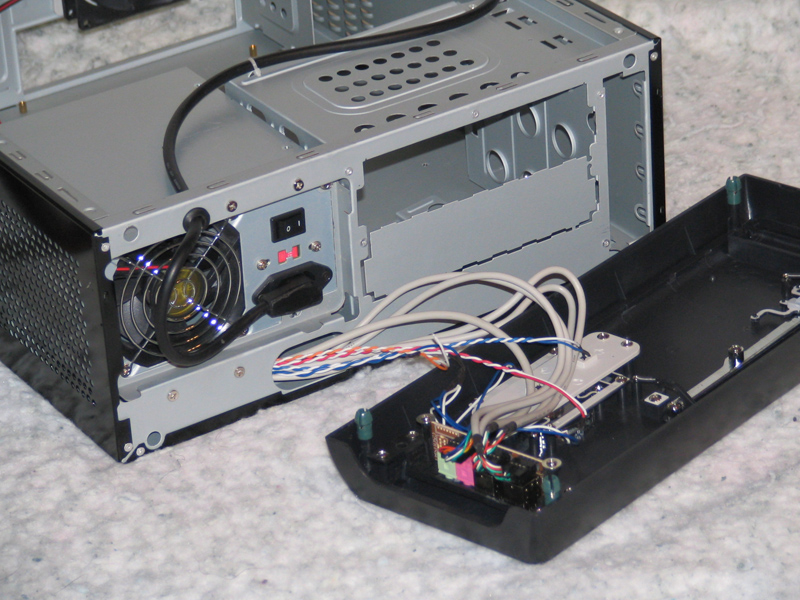
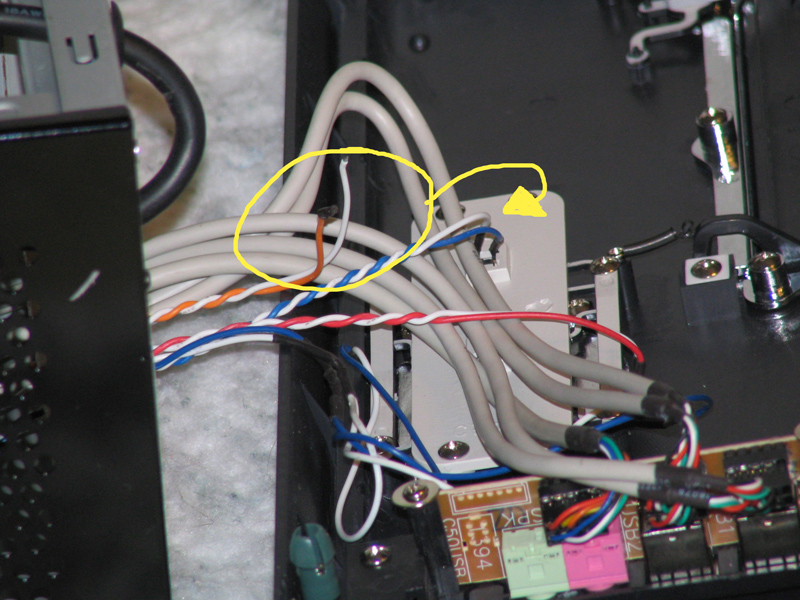
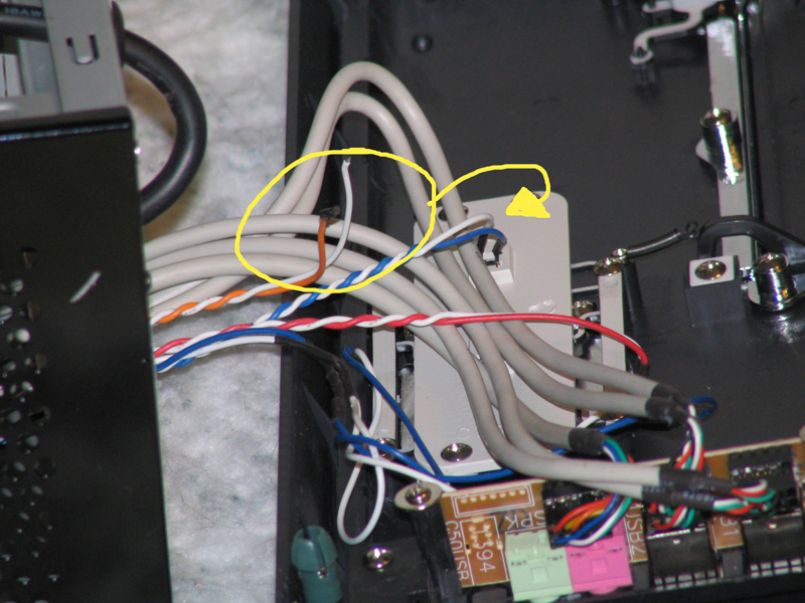
 I hit one snag during this initial installation. Althought I didn't tug hard or jerk the front panel while removing it from the case, I discovered that the power button wires were pulled off of the terminals on the front panel. All the other wires seemed to be fairly sturdy, so I'm not sure what happened here. I can make the suggestion to GMC that they perhaps begin hot-gluing solder points to prevent such things, as many companies do.
Installation, continued
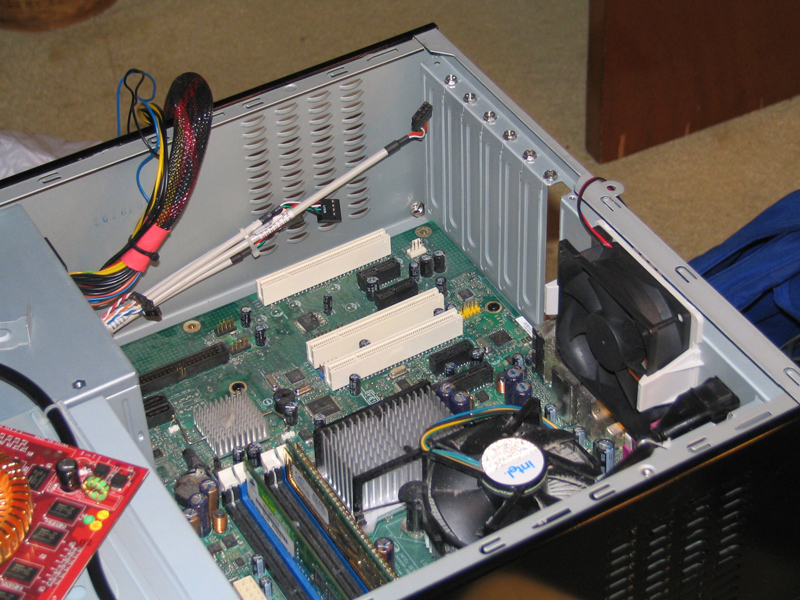
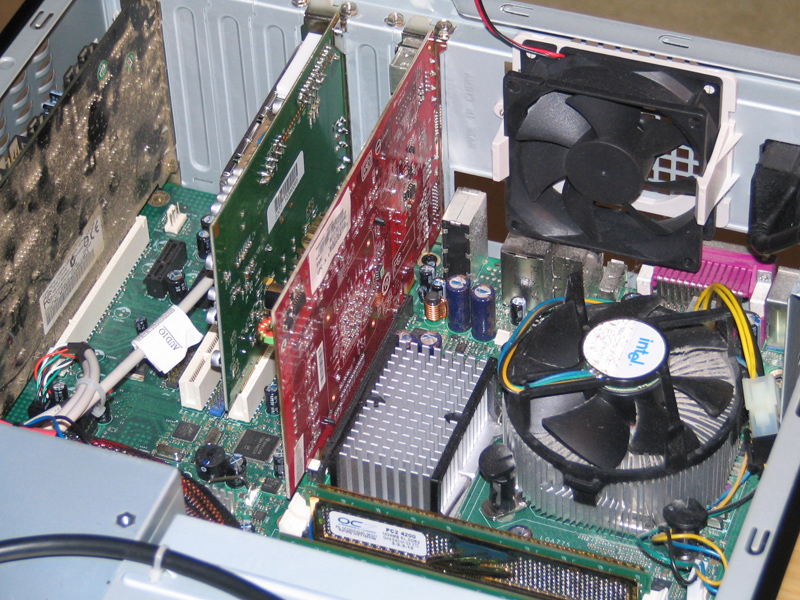
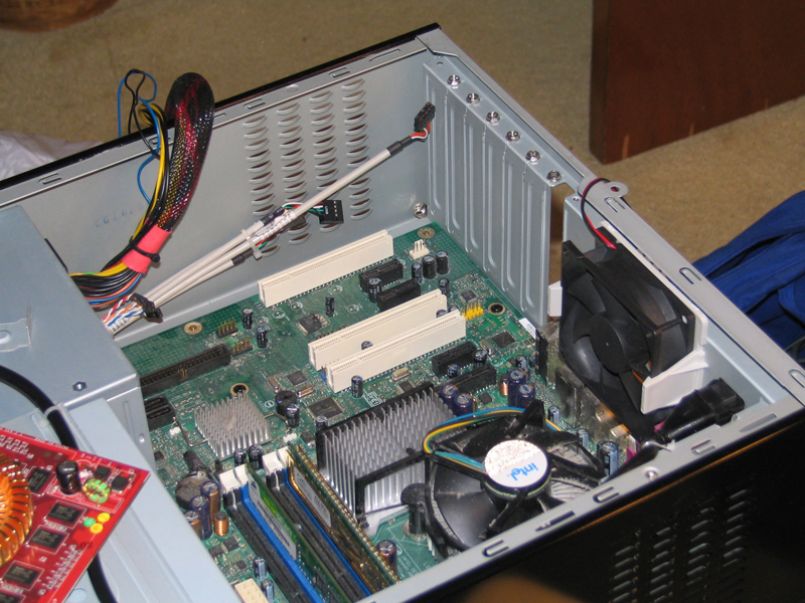
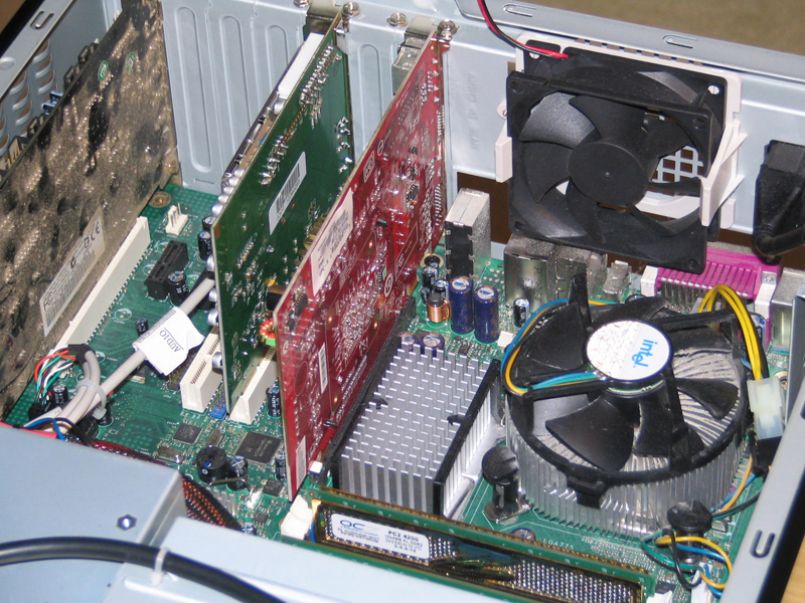
We're using an Intel P965 motherboard, which is a full-size ATX board. I had to pull the optical drive out a bit for it to fit in, but it went under the powersupply without much issue. It's a snug fit, but everything on the motherboard is accessible without having to remove the optical drive or powersupply.
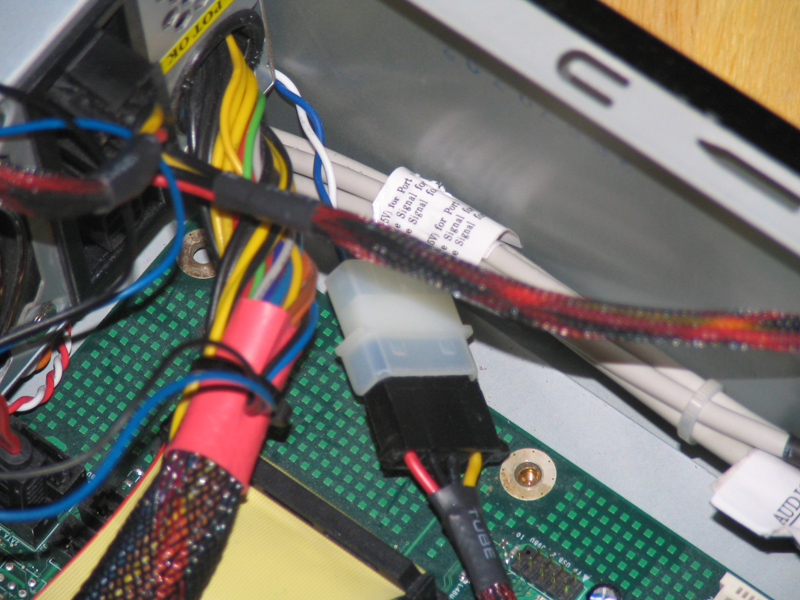
 The front panel connectors were a simple install, as both the USB and Audio connectors were already in blocks. You don't have to worry about looking up pin numbers in the motherboard manual. The switches and HDD LED were similarly easy to install. Another awesome feature here is that the power light is powered by a 12v molex connector rather than the motherboard. This way, you don't have to worry about whether your motherboard has a 3-pin or 2-pin header for the power LED.
 As this is a "slim" case, there is no room for some of the simplified PCI slot solutions, such as push-clips that hold cards in. With this case, you've got to use the old-fashioned screw driver to secure your expansion cards. I have no issue with this, I think it's easier to secure the card and to fit the card in. Ever trying fitting a dual-slot videocard inside some of the cases with clips?
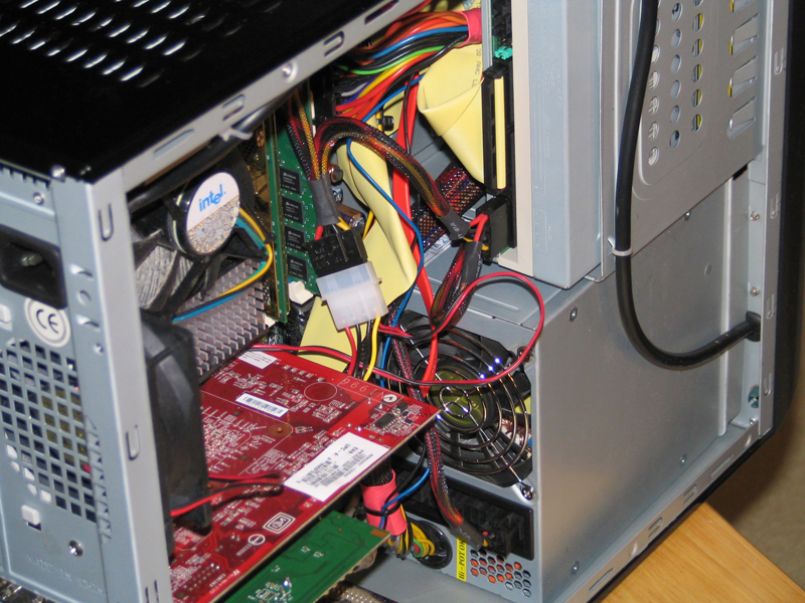
 The hard drive wasn't the easiest part of this installation, but it wasn't a difficult step, either. It fits into the bracket above the motherboard and is screwed in, but if you want it securely in, you're going to have to take off the other side panel to get screw sin the other side. This isn't a huge inconvenience, but it's still a slight bother.
 The last thing left is to connect power to everything and make sure everything is secure.
Usage
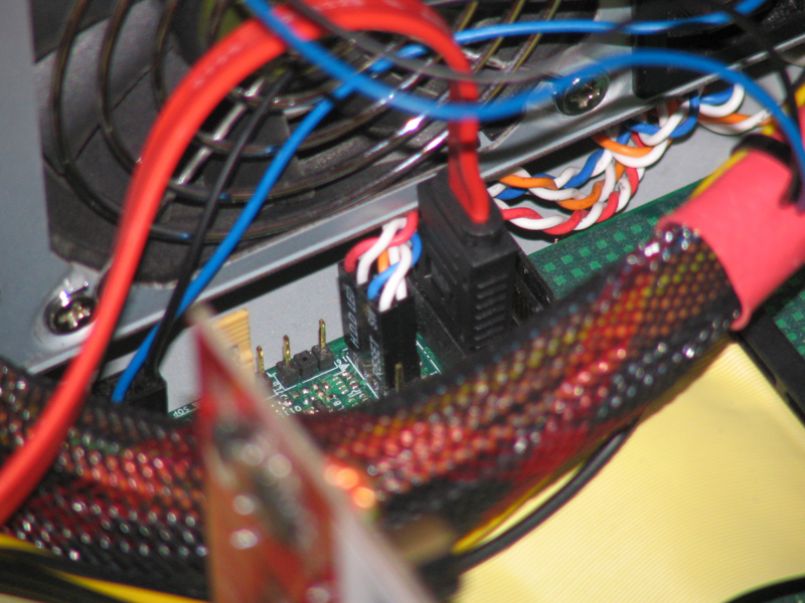
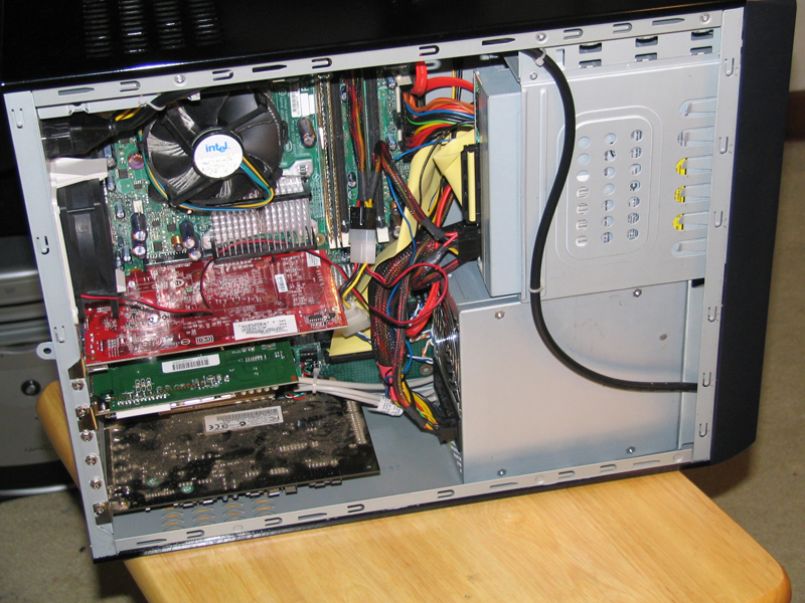
Before powering on the system, I tried to hide as many wires inside as I could. There's no simple way to hide everything, but the empty space under the powersupply and optical drive are ideal for hiding any unwanted wires. If you're running a SATA DVD-ROM, you'll probably be able to hide the wires even easier. Remember that trying to hide a lot of these wires, or atleast removing them from the middle of the case is important. Since this is a small case, you want there to be as much airflow as possible.
 Let's see what kind of setup we're dealing with:
With this setup, the processor temperature never got higher than 49C, and the ambient case temperature remained around 45C. For a tight case, these temperatures are fairly impressive, and comparable to how this system ran in the Thermaltake Soprano DX. I'm not sure, however, that I'd put a high-end videocard into the system. I think it might push the temperature up much more. A second exhaust fan would be helpful, to say the least.
Let's see what kind of setup we're dealing with:
With this setup, the processor temperature never got higher than 49C, and the ambient case temperature remained around 45C. For a tight case, these temperatures are fairly impressive, and comparable to how this system ran in the Thermaltake Soprano DX. I'm not sure, however, that I'd put a high-end videocard into the system. I think it might push the temperature up much more. A second exhaust fan would be helpful, to say the least.
Final Thoughts and Conclusion
Overall, I found the GMC C-50 to be a very, very, sturdy case, despite it's lightness. This is a very well built and quality case, deserving of anyone's attention. Installation was straightfoward, but a more in-depth manual would have been nice.
 While there are several vents on the case, more fans are a MUST if you want to fit a high-end system in to this box. There is nothing channeling the heat out of the rear of the powersupply to the bottom of the case. Thankfully, the CPU was both an exhaust fan and air duct near it for better cooling. Despite this, there is nothing stopping the case from making its way to your home theatre or desktop.
As of yet, this case is not available from any of the major American retailers, and I think GMC could really get it's name out there if it started selling its cases on NewEgg and TigerDirect.
While there are several vents on the case, more fans are a MUST if you want to fit a high-end system in to this box. There is nothing channeling the heat out of the rear of the powersupply to the bottom of the case. Thankfully, the CPU was both an exhaust fan and air duct near it for better cooling. Despite this, there is nothing stopping the case from making its way to your home theatre or desktop.
As of yet, this case is not available from any of the major American retailers, and I think GMC could really get it's name out there if it started selling its cases on NewEgg and TigerDirect.
Pros
- Slick Design
- Reflective Coating = Awesome
- Straightforward Installation
- Unique powersupply mounting
- Front Ports
Cons
- Slightly snug fit
- Soldering on the front panel broke
- Not sold at American retailers yet
- Could use slightly more cooling options
Rating
8/10
Sean Potter
Editor-in-Chief
I've been a dedicated Linux user for over two decades, and have been building computers and servers for even longer. My professional career has taken me down the path of simultaneous systems administration and web development, which allows me to constantly strengthen my Linux-fu.
View Posts