
Introduction
A few weeks ago, I looked at GMC’s C-50 Slim ATX Case. GMC offers a full range of case sizes and functions, including several home theatre PC (HTPC) cases. GMC calls its HTPC case line “Noblesse AV.” From this line, we’re going to be looking at the Micro ATX-sized AVC-M1 Noblesse AV Case, which features an iMON display and classy styling.
Packaging
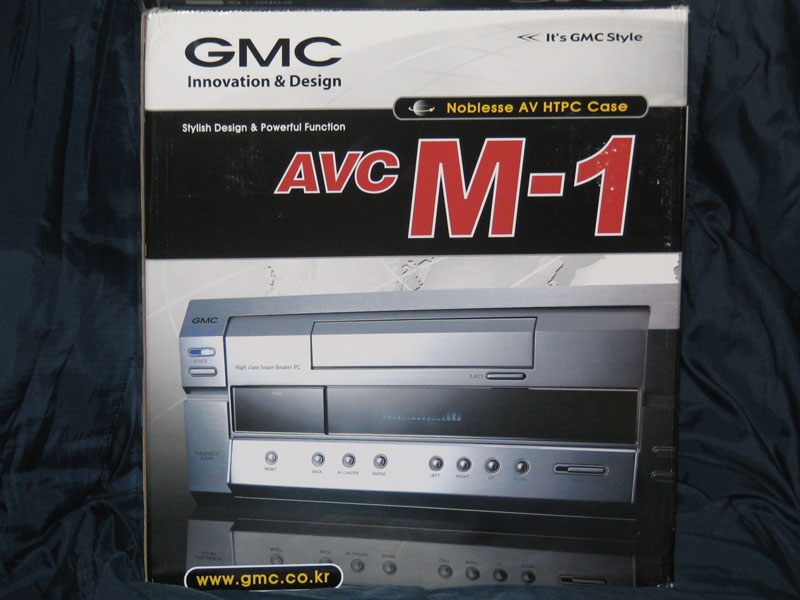
The AVC-M1 arrived in a box slightly larger than that in which the C50 arrived, and I was pleasantly surprised to find that the box even featured a handle for easy carrying. This made for easy handoffs when we passed the case between staff members.
Opening the case up, I found the Silver AVC-M1 wrapped in plastic and protected in the case by a piece of foam on either side. I flipped the box upside down and let the case slide out.
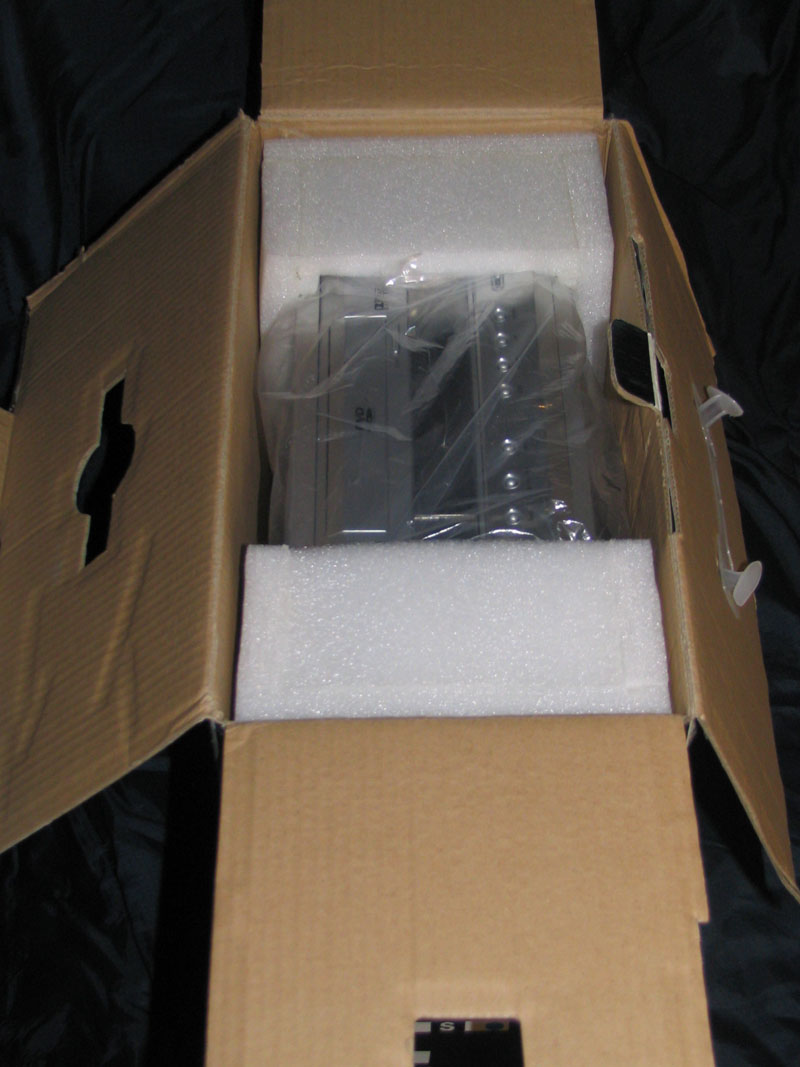

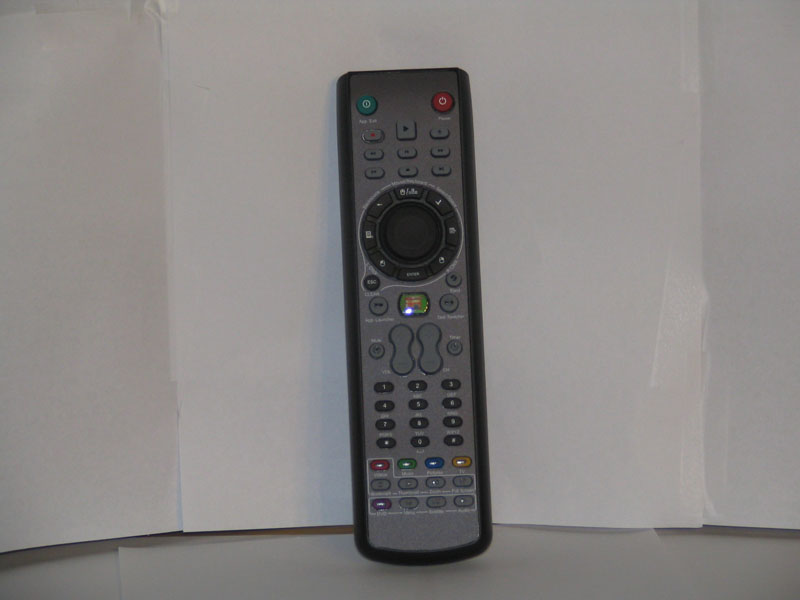
The case was the only part inside the box, but inside the case was the rest of the needed components. These components included an iMON Pad and screws.
With the case unpacked, let’s look at what exactly we’re working with.
Features & Specifications
For a Micro ATX case, the AVC-M1 packs a punch with features. It promises HTPC functionality through iMEDIAN software, excellent thermal solutions and easy installation. To get a better idea of these features, let’s look at a full feature list.
- Micro ATX type HTPC Case
- Support Micro ATX
- Provide multi operation software through the iMEDIAN
- The best solution for multimedia such as TV, Music, Movie and photo
- User-friendly IrDA remote controller
- Front panel function
- Providing system information and EQ visualization in 16 X 2 VFD display
- Menu navigation jog button, Enter button
- Volume control and mute function
- Excellent Thermal Solutions
- Support 80mm cooling fan in the rear
- Optional 80mm cooling fan in the front
- Support air duct and PCI express air hole in the top cover, meets with Intel CAG 1.1
- Easy Installation
- Detachable internal 3.5″ and 5.25″ drive cage
- Safe Assembly
- Aluminum front panel
- Folded edge for each part
- USB 2.0 FPIO Support
- Support USB 2.0 X 2, audio and microphone port FPIO
- Support FireWire x 1
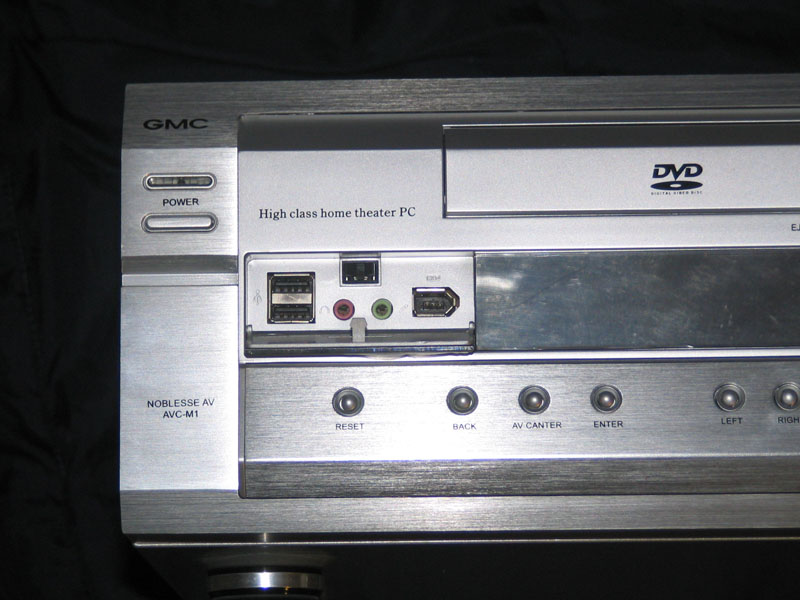
Aside from the attractive Vacuum Fluorescent Display (VFD), the case also has a great set of front inputs including audio, USB, and FireWire. The one thing that I don’t see in this lineup is a card reader. Unfortunately with this case, I’ll be forced to use an external card reader.
The features of this case build upon the physical specifications, which include a small form factor (always a plus in HTPC systems) and a reasonable amount of expansion space. Here’s the
- Model: AVC-M1
- Dimension ( W x D x H ): Chassis 345 x 390 x 145mm
- Color: Silver / Black
- Multi Port: USB2.0 x 2port, Audio + MIC port, IEEE 1394
- Form Factor: Micro ATX
- Drive Bay: 5.25″ x 1 (Ext) / 3.5″ x 3 (Int)
- Expansion Slots: 4 Slots
- M/B Size: Micro ATX
- Weight: Net : 6.7kg / Gross : 7.5kg
- Fan: Rear 80mm Fan / Front 80mm Fan
- Optional: VFD Module : 16 x 2 Character VFD
- Manual: English edition
The AVC-M1 definitely has some impressive specs behind it, but will it stand up during our installation and usage?
Appearance
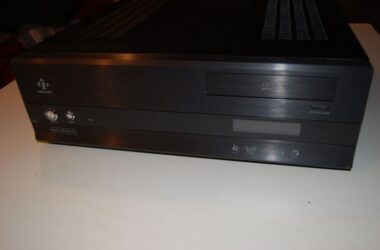
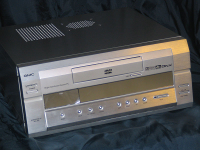
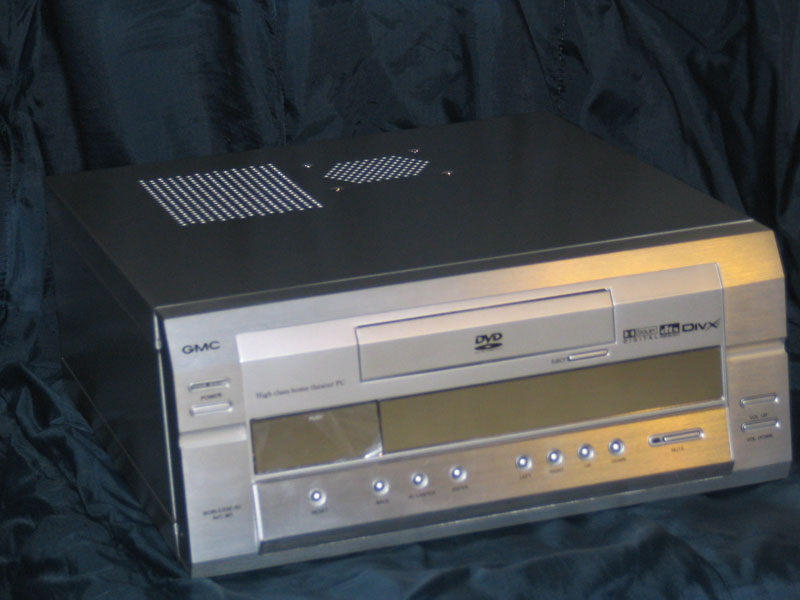
GMC sent us the silver version of the AVC-M1, and it is quite the looker. After first unpacking it, even my girlfriend said it looked more like a DVD player than a computer. This makes for a perfect HTPC!
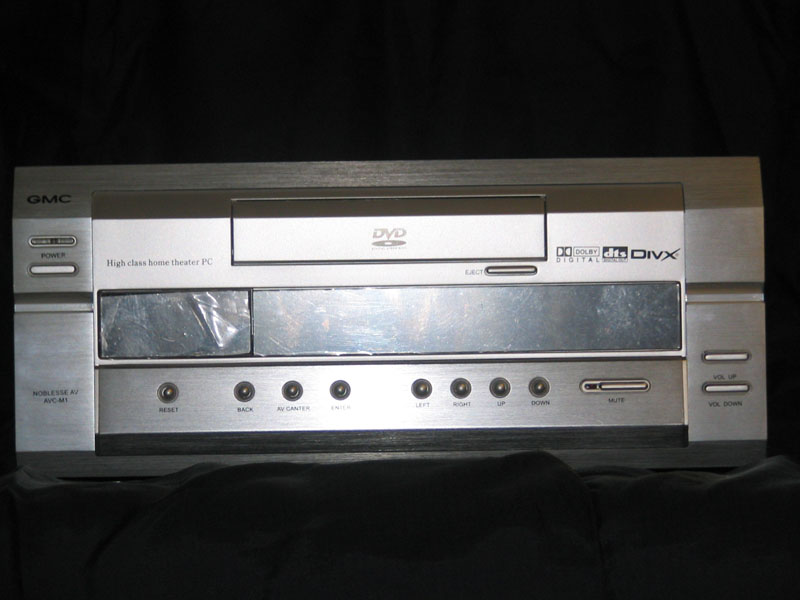
On the front of the case, I can clearly see an optical drive door, multimedia controls, and a push-down door that reveals the USB, FireWire, and audio ports. What I don’t see is the two-line VFD, and this is because it resides behind the mirror finish that lines the middle of the case.

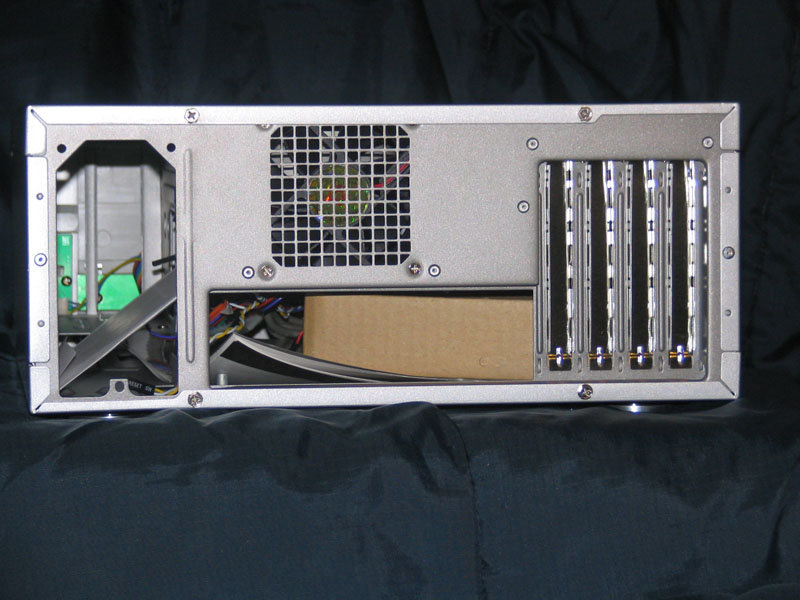
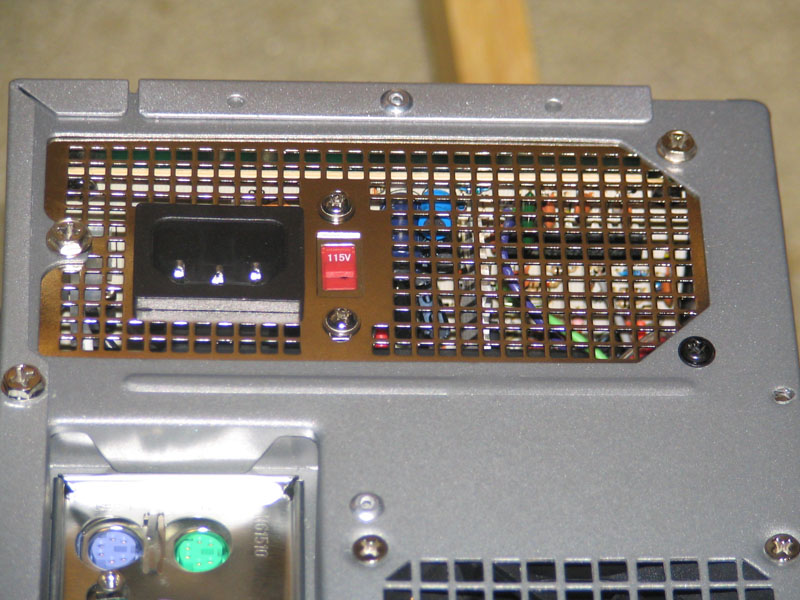
The case is slightly smaller than your average desktop Micro ATX case, and looking at the rear, I can see why. The AVC-M1 utilizes a Micro ATX power supply, instead of a full-size ATX power supply. This could be troublesome if I opt for a higher-end videocard in our setup.
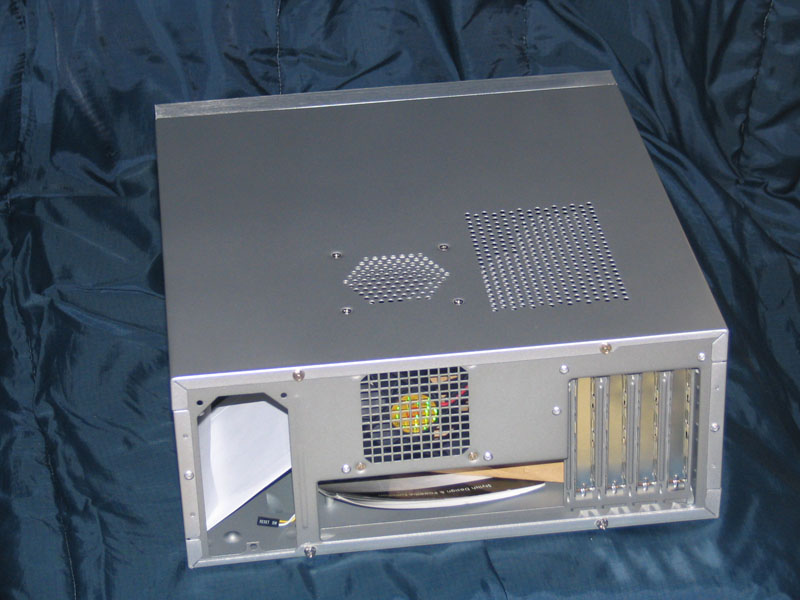
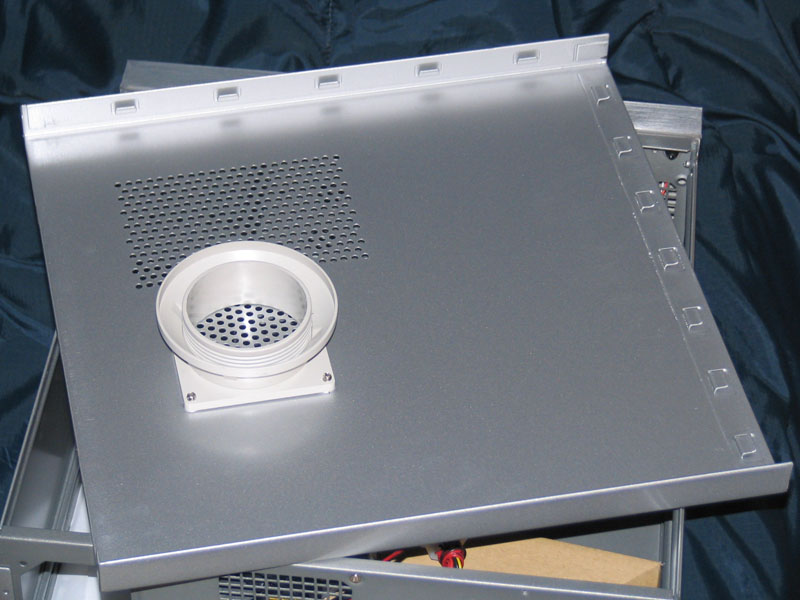
Taking the top panel off was a bit of a challenge. Sure, the screws in the back came out easily enough, but there was nothing to grip while take the case off. It was slightly difficult to pull off. An addition of a embedded or portruding handle would be a very welcome addition. When the panel is removed, I found a duct leading from the location of the CPU to the side of the case, just to direction the air coming to and from the CPU’s fan.
Now that the side panel is off, let’s take a peak inside and begin installation.
Installation
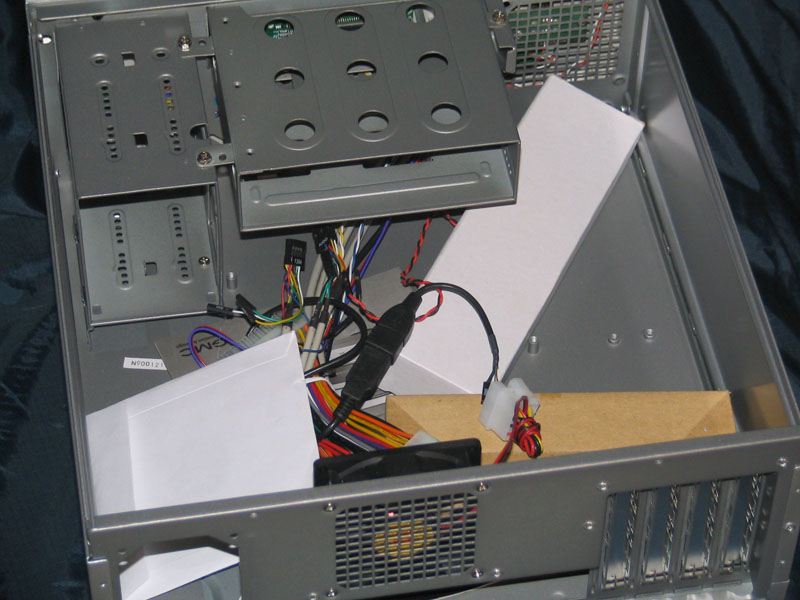
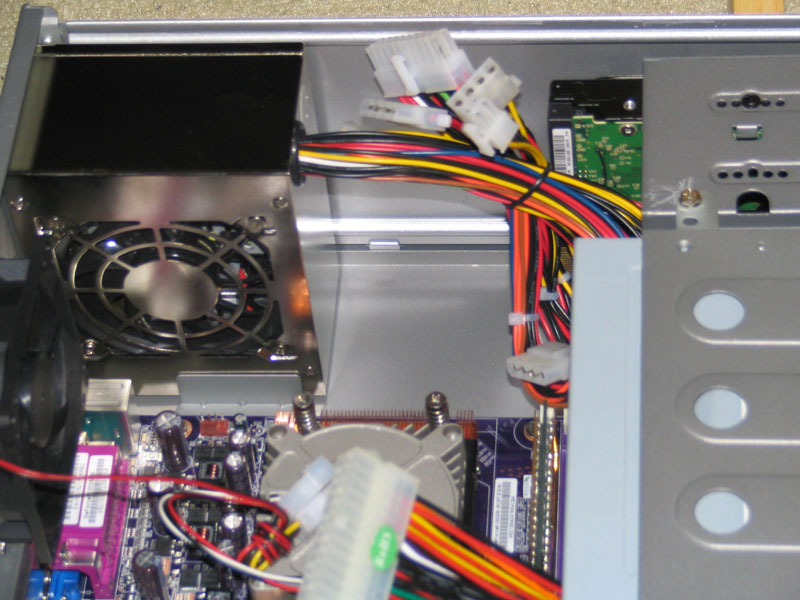
Upon opening the case, I was greeted by the ever-familiar sight of bundled wires, and a lot of them! It looked like everything major was there — power, front panel, USB, FireWire, and audio. Fortunately, there’s no need to remove the front bezel of the case, so I shouldn’t run into issues like ripping the cables from their mounts.
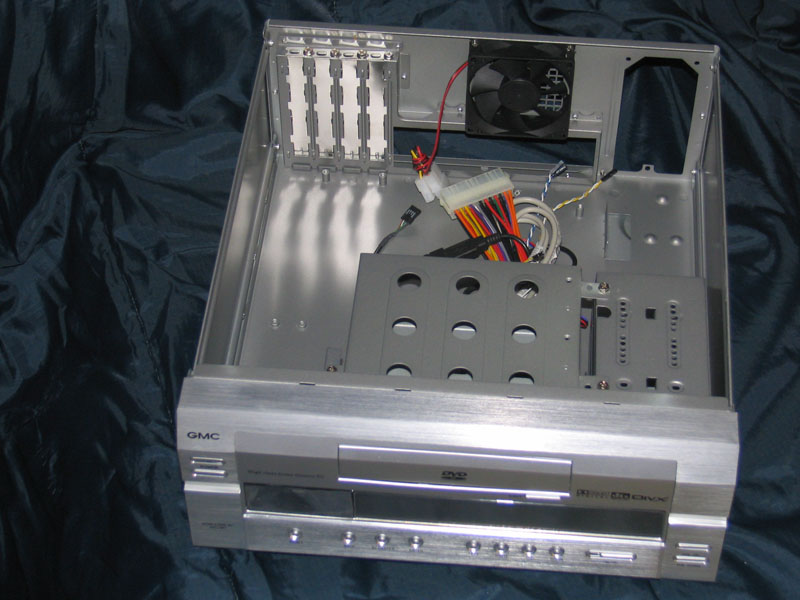
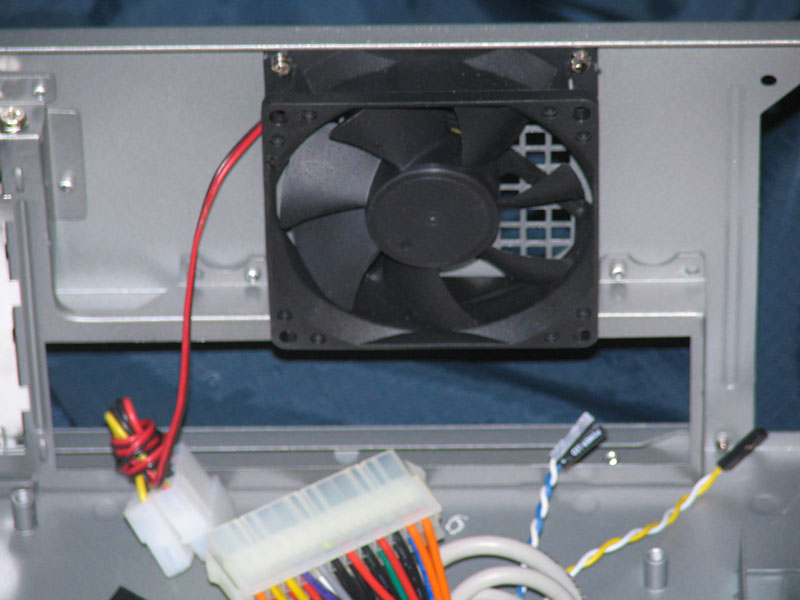
Also, it’s noticeable that there is nothing next to the right of the optical drive cage, and this leaves enough space that I could potentially fit a high-end graphics card in to this case without any clearance issues. There is a spot for an 80mm fan in this area, and there is an 80mm fan mounted against the rear of the case.
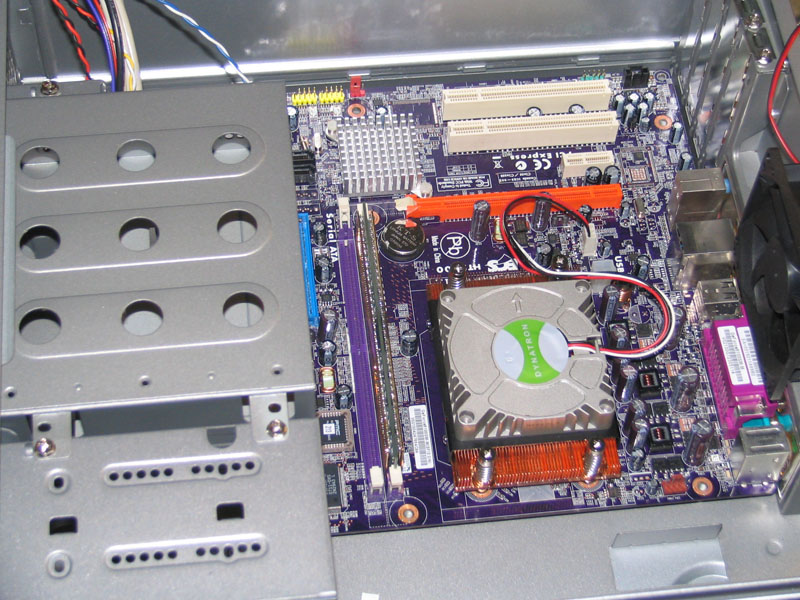
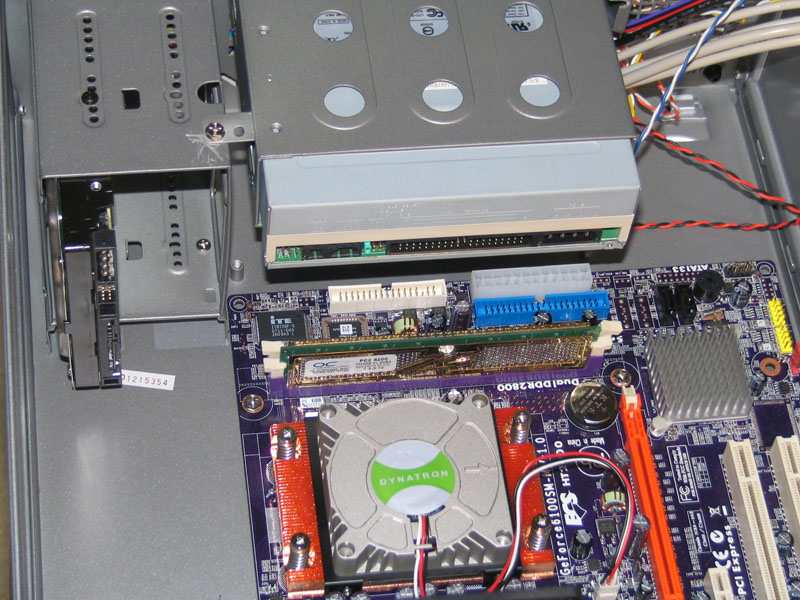
I decided to install the motherboard first. Most of the standoffs are already in the case, so I had little work to do before screwing the motherboard in. The only issue I had with the motherboard is that the 24-pin power connector is directly under the optical drive, which may make for a difficult time when connecting the power.
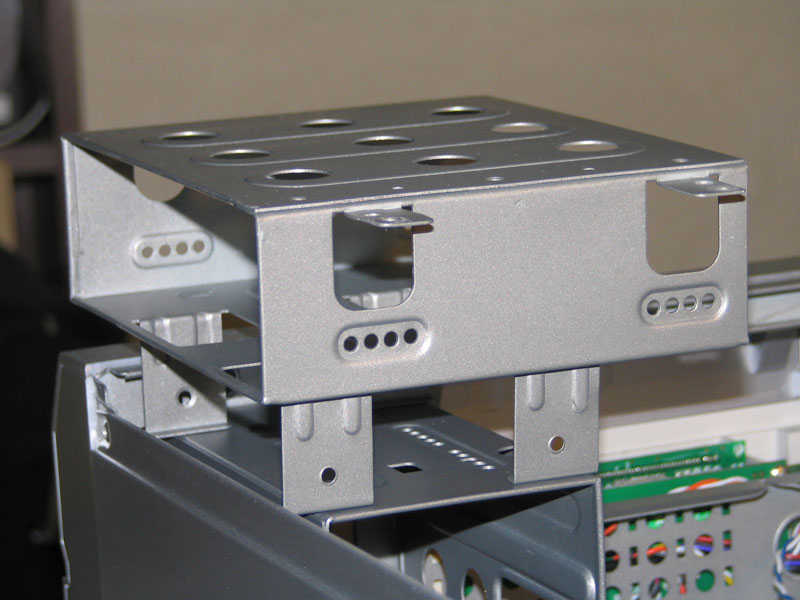
Since the bottom of the case is not removable, GMC made both drive cages removable. This makes for an easy installation. If they weren’t removable, we’d end up with only a single side of any drive I install being screwed in. Hello, vibrations? Let’s start with the optical drive…
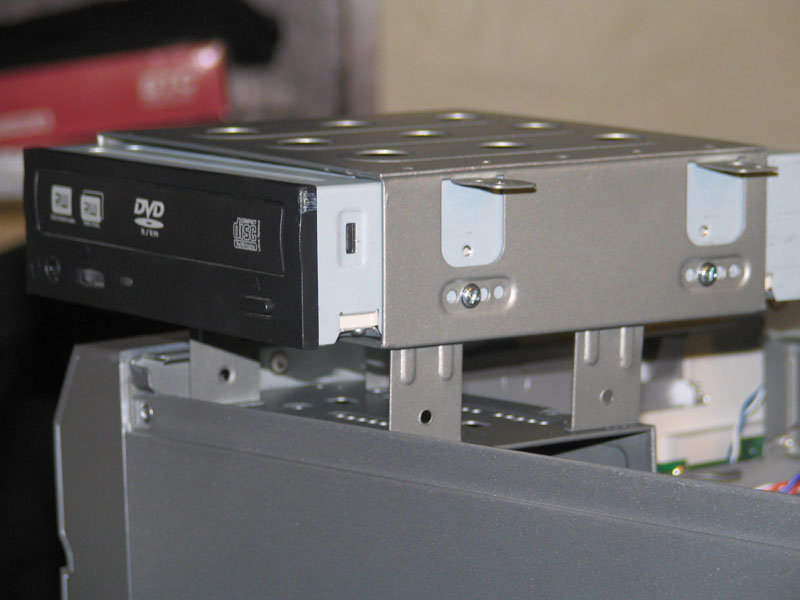
…and finish with the hard drive.
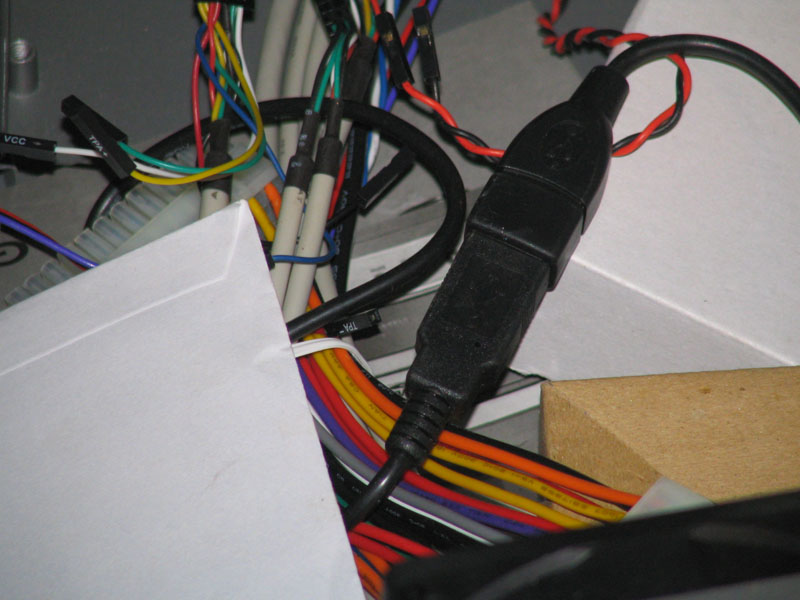
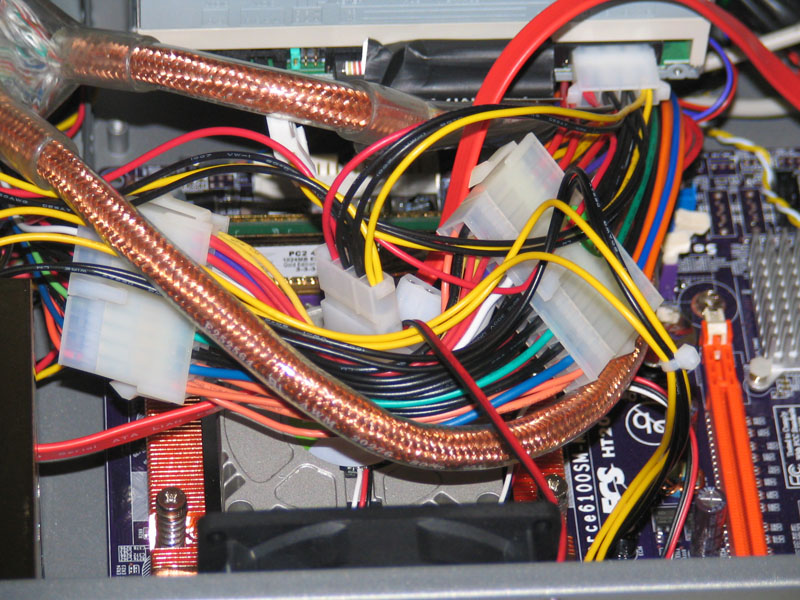
After securing the drives, I decided it was time to wire the system up. The front audio connector only supports AC’97, rather than the optional AC’97 or Intel HD Audio that many new cases offer. There are two separate USB connections, one for 2 USB ports in the form of a single block (oh so helpful =D) and a separate single connector for the iMON hardware.
Follow these connections with the front panel headers. There’s nothing out of the ordinary here except the lack of a power button cable. Instead, GMC includes a 24-pin to 24-pin extension cable that has 2 leads that run to the front panel. This is so the iMON infrared port is able to power on the system, but the power button is also wired in this way.
Finish these connections with the SATA and PATA cables for the system drives, then we’ll finalize installation with the Micro ATX power supply. Micro ATX power supplies take up significantally less space than their ATX brethren, but are able to provide far less power. For the time being, we’ll be testing with a 200W power supply.
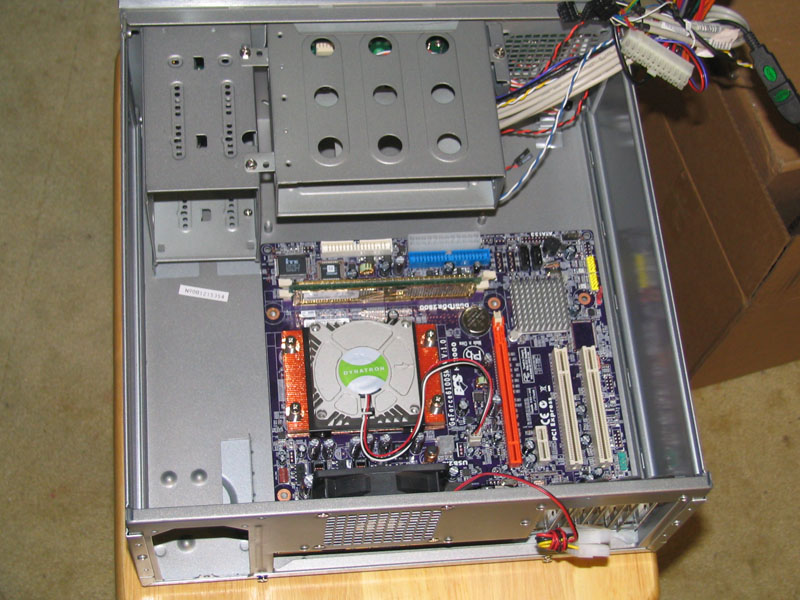
The end result is a little unsightly, but many of the cables should be able to be routed with a little work to neaten things up. Thankfully, there’s plenty of space under the optical drive cage to hide some of the cables.
Finally, I installed our MSI GeForce 8500GT videocard. The AVC-M1 doesn’t feature tool-less PCI slots, but I had no issues aligning the card with the case or fitting it to the motherboard.
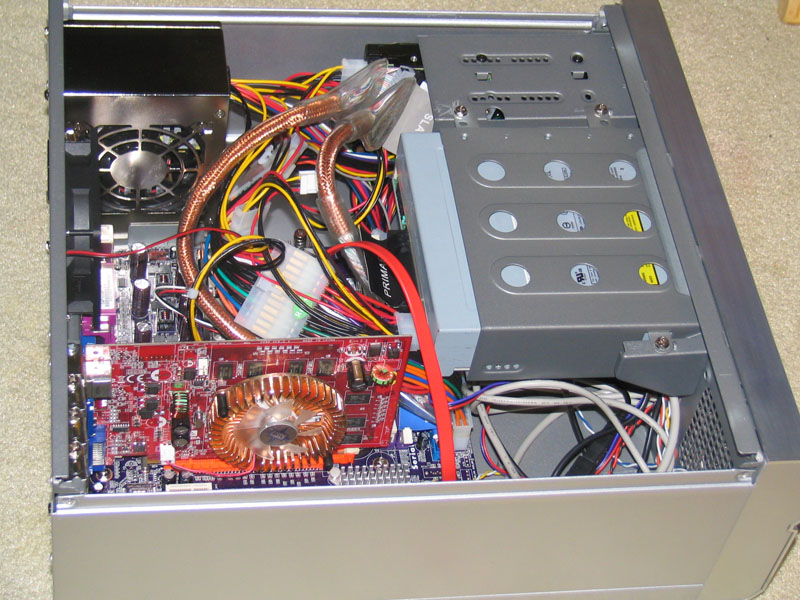

Now let’s look at how the case works now that everyone is installed.
Usage & Conclusion
After a relatively painless installation, I was able to power the machine on and boot into Windows. After installing the necessary iMON and iMEDIAN software, I was able to play media and watch different information scroll past on the built-in VFD. Unfortunately, the VFD did not photograph well at all because of the mirror surface it sits behind.
As I’ve mentioned before, the iMON VFD and IR remote are usable in Linux by following the detailed instructions at CheckThisSh*tOut.com. Unfortunately, I made no progress on getting the multimedia keys on the front of the case working in Linux. This is not a setback, and the case would make a fantastic enclosure for a Windows or Linux-based machine.
GMC’s AVC-M1 Noblesse case should make for an excellent addition to your home theater setup. The two major colors of home theater equipment are black and silver, and the AVC-M1 comes in either flavor. The case’s front panel is very stylish, and it’s fantastic to be able to find a push-down door that reveals the USB, FireWire, and audio jacks.
Our test system that was transplanted at this case ran at a constant 40°C, which says to us that no additional cooling is needed. With an easy installation and fantastic cooling, I have no real complaints about the AVC-M1. I just need GMC to begin distributing these cases in the North American markets.
Pros
- Stylish
- Spacious
- Vacuum Fluorescent Display, and IR Remote included
- Easy installation
- Assortment of front panel connections
Cons
- Micro ATX power supply — limited power options
- Top panel difficult to remove