


Introduction
Thermaltake has always been one of my favorite case manufacturers for their quality and creative designs. The M9 is yet another example of one Thermaltake’s fantastic chassis, featuring nine 5.25″ drive bays, tool-free drive and add-on installation, and dual 120mm fans. Will it stand up to the Thermaltake’s claims of excellent ventilation and silent operation?
Packaging and Contents
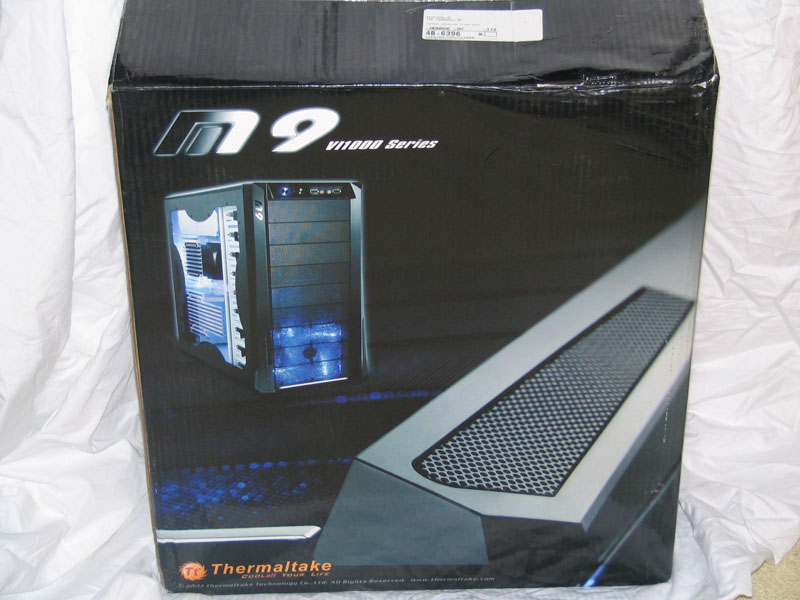
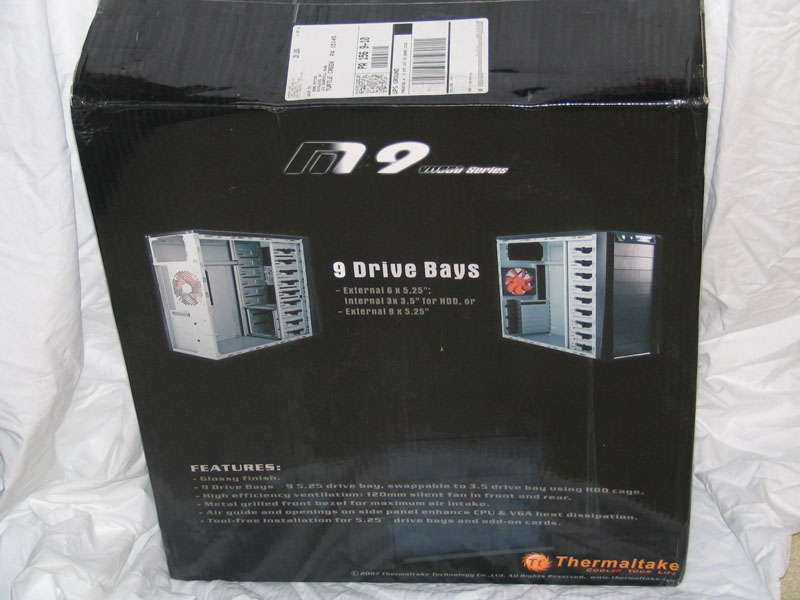
The M9 was shipped in a glossy, full-color box with Thermaltake’s typical glamour shots of the case. It sure does look good! Thermaltake sent me the VI1000BNS, which doesn’t feature a side window.
The rear packaging shows inside and rear views of the case, as well as lists the major features.
The user’s manual was the first thing I found when opening the packaging. Inside, the M9 was held in a plastic bag and secured by two blocks of form-fitting styrofoam.
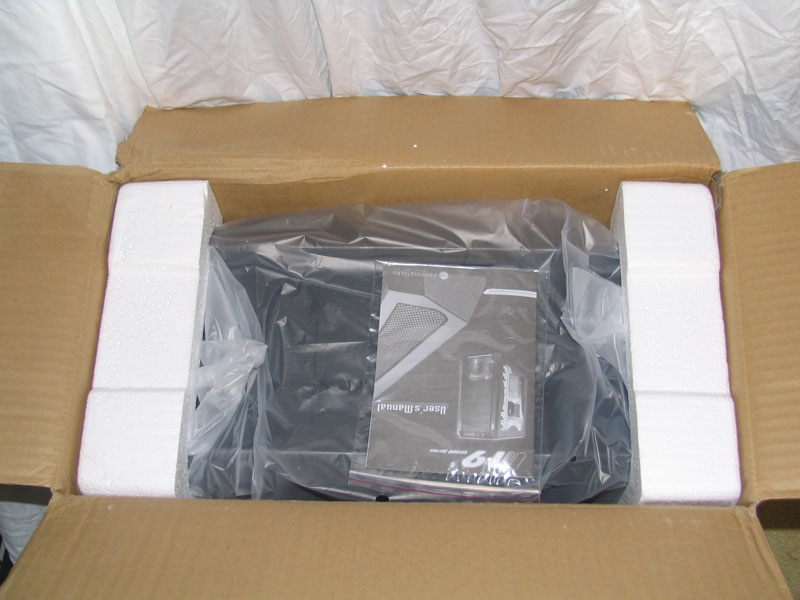
Since this is a tool-less installation board, the only included screws were motherboard mounts and thumbscrews for the side panel. Let’s get the case out of the packaging.
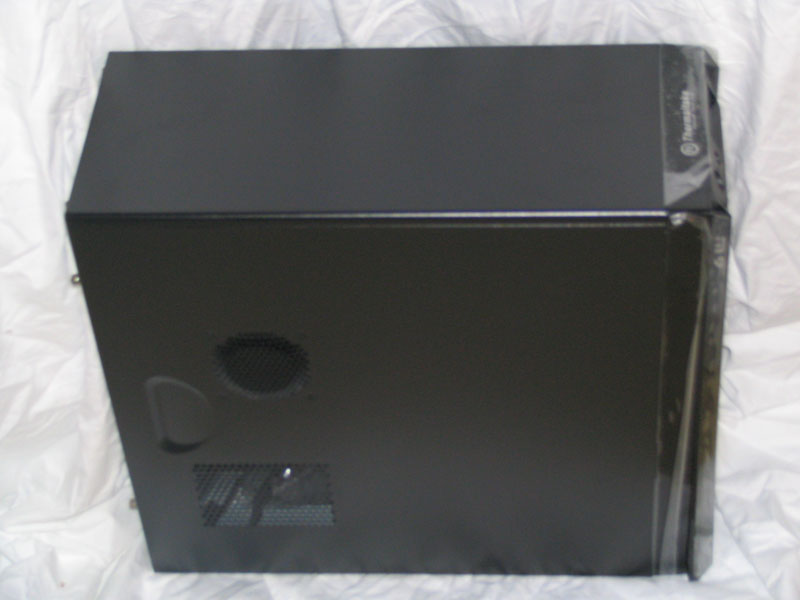
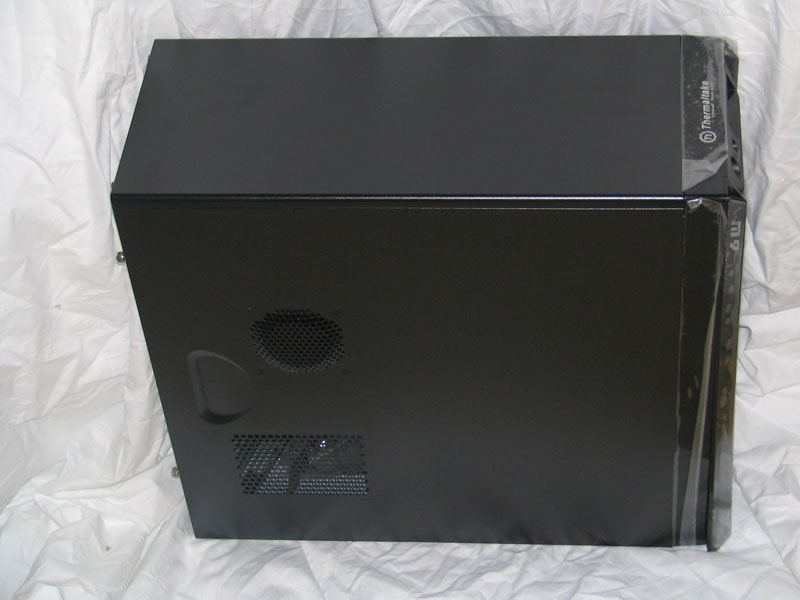
Appearance
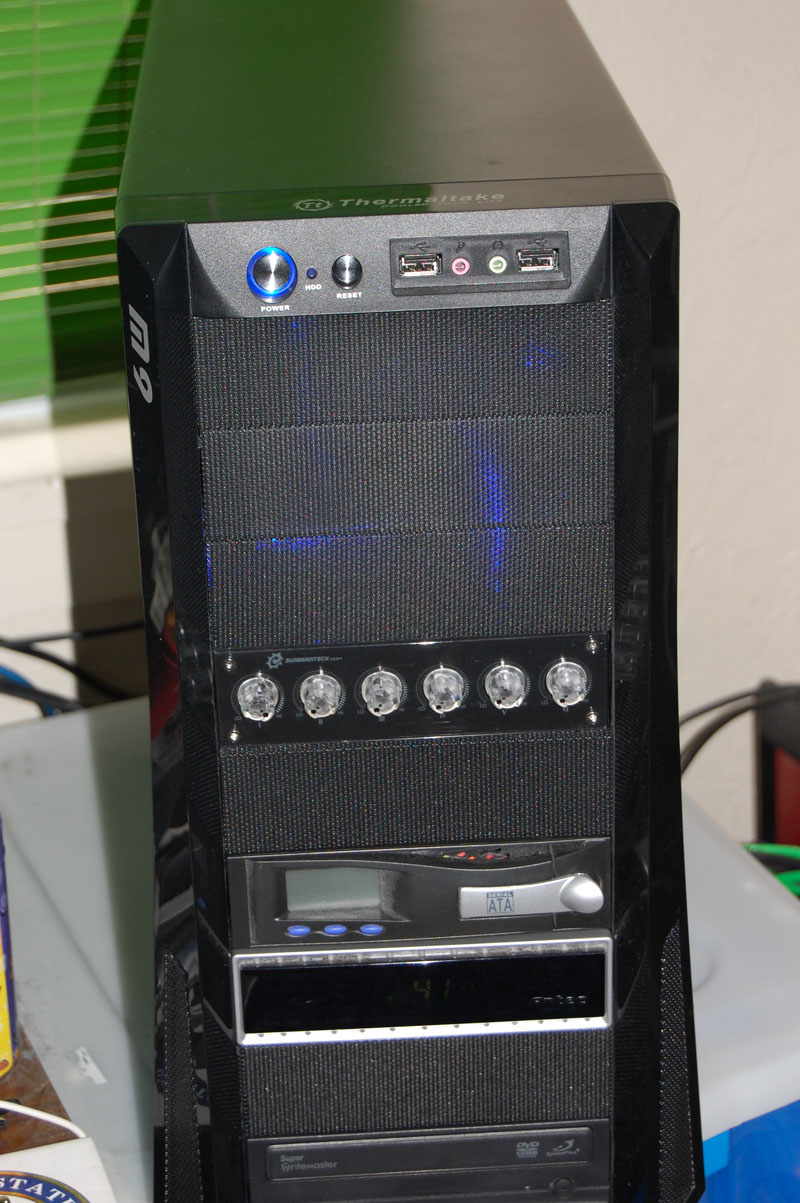
The nine drive bays of the M9 make an impressive show once the case is pulled from its packaging. The mesh drive covers give the case a fantastic feel, and the front panel connections and power buttons on the top of the case as a nicely added touch. I prefer this to the Armor Jr.’s 5.25″ bay that provides only power and reset buttons.
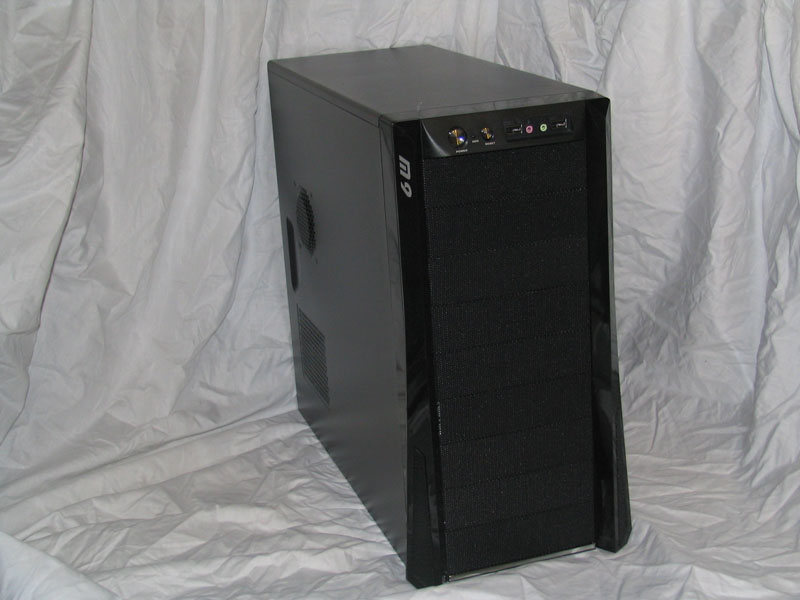
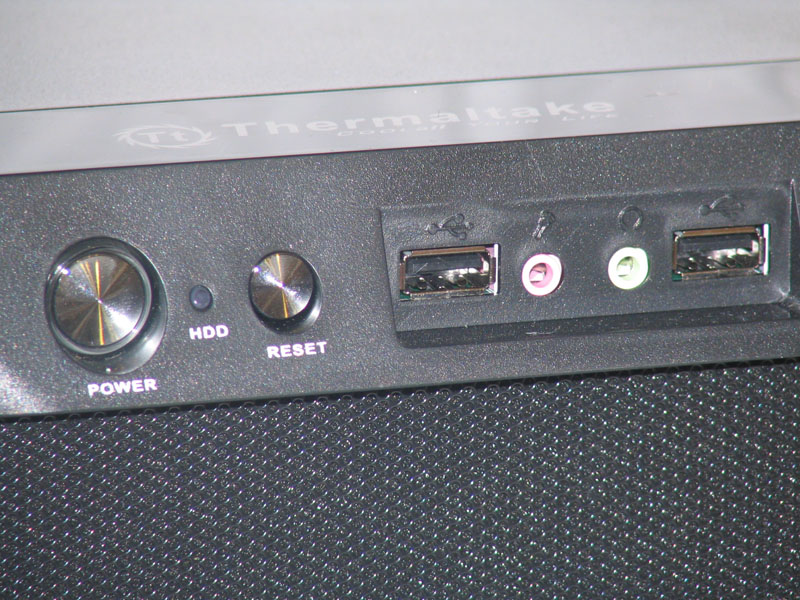
Missing from the front panel are both eSATA and FireWire, but I actually don’t care for front connectors for either of those. Some may find it annoying, but there’s plenty of expansion in the back of the case.
When looking at the case from the rear, the first thing that struck me was the fact that the front of the case extended outwards near the bottom. I didn’t realize this at first, but it gives the M9 a much more unique look from the front.

The rear of the case also features seven expansion slots and a 120mm fan, which can replaced with a 92mm or 80mm fan if the user so desires. I’ll stick with the 120mm.
In place of a window on the M9’s side panel, there’s a single 80mm fan mount, which Thermaltake has occupied with an air duct to draw air away from the CPU more efficiently.
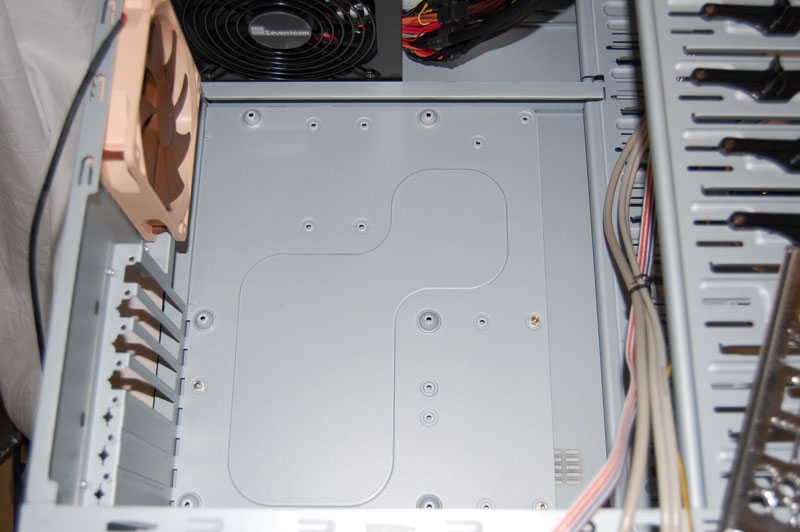
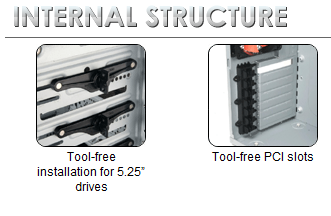
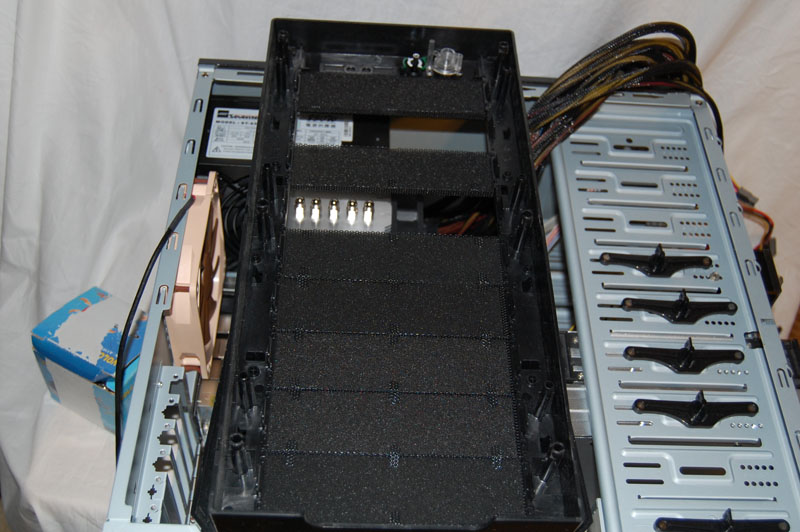
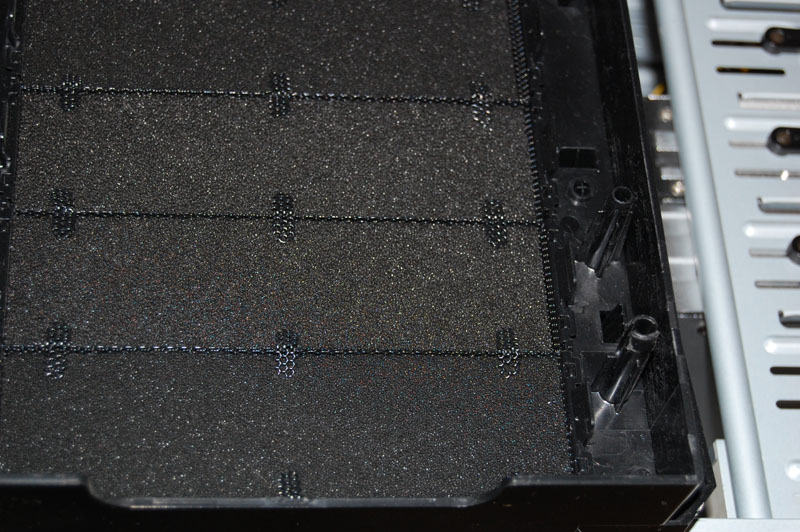
The interior of the case is similarly impressive, especially while counting the nine drive bays. The drive bays are held in place by an impressive mounting system, where a bracket is placed in to the side of the drive bay, pushed in to the screw holes of the drive or accessory, then locked in position.
This may be one of the most simplistic mounting methods I’ve come across, aside from using drive rails.
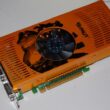
There are also mounting clips for the expansion slots. They work similar to past clips from Thermaltake, but seem somewhat easier to use. The only argument I have against these clips are that I couldn’t fit my dual-slot GeForce 8800GTX. Unless a dual-slot videocard has a slit between PCI slots, then the card will not fit. Thusly, I was forced to remove the mounting clips.
Finally, Thermaltake includes a hard drive cage that holds up to three drives, and locks in to place using three 5.25″ bays. A 120mm blue LED fan is mounted to the front of the cage to keep the drives cool, and give the front of the M9 a cool effect behind the fine mesh.
Features & Specifications
Let’s first take a look at the specifications of the M9 to get a better idea of what I’m working with.
Specifications
| Case Type | Mid Tower |
| Material | SECC |
| Front Bezel Material | Plastic |
| Color | Black |
| Side Panel | Solid |
| Motherboard Support | Micro ATX, Standard ATX |
| 5.25″ Drive Bay | 9 or 6 |
| Ext. 3.5″ Drive Bay | 1 (convertable from 5.25″) |
| Int. 3.5″ Drive Bay | 3 |
| Expansion Slots | 7 |
| Front I/O Ports | USB x 2, Audio Out, Mic In |
| Front Audio | HD Audio |
| Cooling System | Front (intake) : 120 x 120 x 25 mm blue LED fan, 1300 rpm, 17 dBA Rear (exhaust) : 120 x 120 x 25 mm, 1300 rpm, 17 dBA |
| Power Supply Supported | Standard ATX PSII |
| Dimension (H*W*D) | 17.3 x 7.9 x 19.5 in |
| Net Weight | 14.6 lbs |
| Warranty | 3 Years |
Now, lets look at what features the specifications of the case provide, as well as other features built in by Thermaltake. The M9 definitely looks like a promising case.
Features
- Glossy finish
- 9 Drive Bays – 9 5.25†drive bay, swappable to 3.5†drive bay using HDD cage
- High efficiency ventilation: 120mm silent fan in front and rear
- Metal grilled front bezel for maximum air intake
- Air guide and openings on side panel enhance CPU & VGA heat dissipation
- Tool-free installation for 5.25†drive bays and add-on cards
Installation
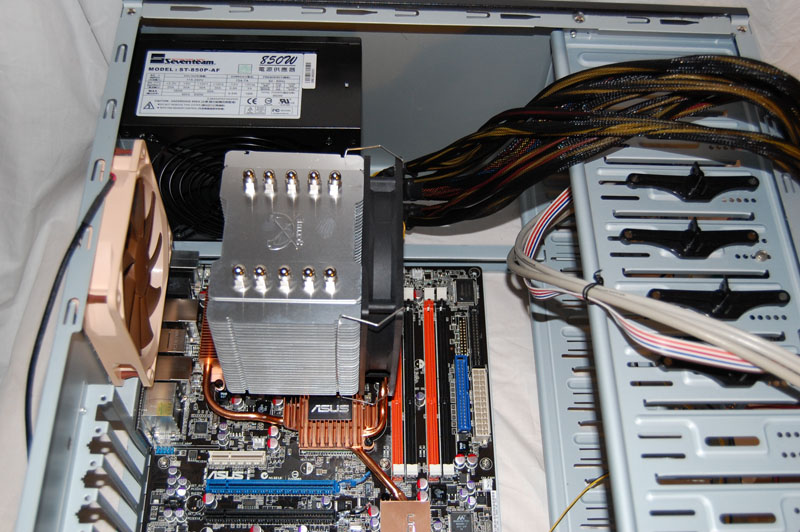
I started installation with the power supply, since it’s typically difficult to install depending on the case. The Thermaltake M9 can support various sized ATX power supplies, from short to long. I imagine a redundant power supply would fit as well.
Next up was the motherboard, which installed easily. Thermaltake’s motherboard backplane in the M9 has several raised points which are the most common motherboard mounts. Depending on the motherboard, more mounts may have to be screwed in. Otherwise, just drop the motherboard in and screw it in.
Optical drivers were next. The M9 features an interesting mounting solution, and I think I may even prefer this to drive rails. There are clips that hold in 5.25″ drive bays. They have a pin on either side, which fits the screw’s hole on optical drives and the like. Then, by twisting the locking m
echanism in the center, it will lock in place. The drives are fairly secure for only being held in on one side.
The M9’s front panel pulls off with a little force. All the LEDs and buttons are on the case itself, so there’s no worrying about ripping a cable. The drive bay covers are clipped in, and come out rather easily. Just be sure it matches up with the case correctly.
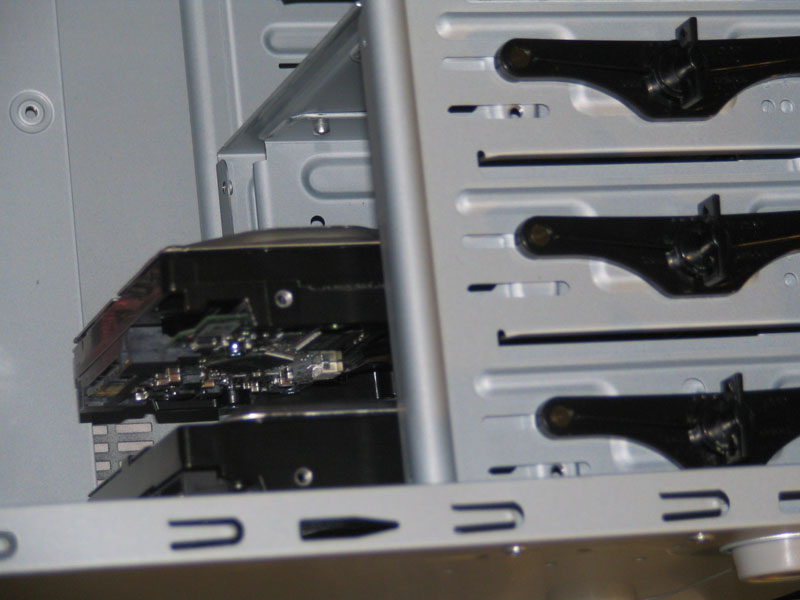
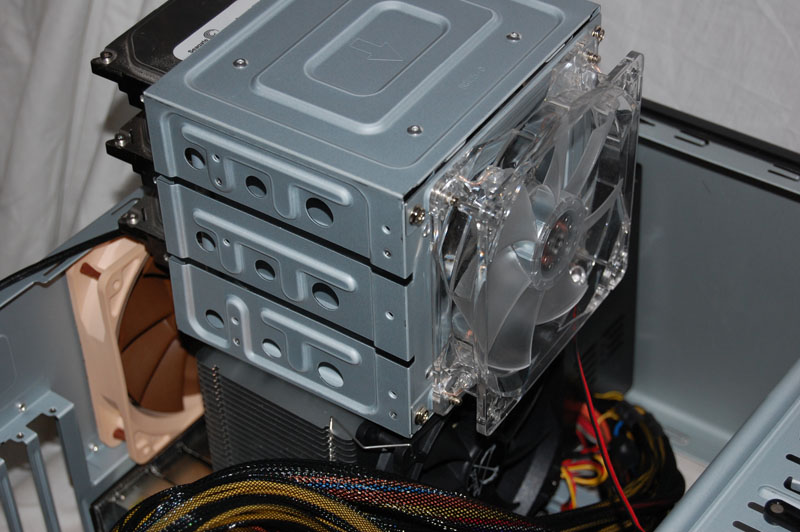
The hard drive cage can fit up to three hard drives, and has a 120mm fan on the front to cool the drives. Without a magnetic screwdriver, it may be a little difficult to get the drives screwed in. After they’re in, the unit can slide back in to the 5.25″ bays from the front.
All that’s left from this point is to connect the wiring and make sure everything is secure. The M9’s front USB and Audio connectors are single block connectors, removing any need to figure out how they fit to the motherboard. The front panel LEDs and buttons are a different story, but nothing too difficult.
Fantastic, installation is complete. Let’s turn the machine on and see what happens.
Usage & Performance
The Thermaltake M9 can by no means compete with Thermaltake’s premium offerings such as the Xaser VI, Armor+, and so on and so forth. However, the case puts up a good fight and does the job better than a lot of competitors on the market.
When turning on the Thermaltake M9, the front panel comes to life. The blue LED fan that cools the hard drives lights up behind the front panel’s mesh, and the power and hard drive LEDs are light up.
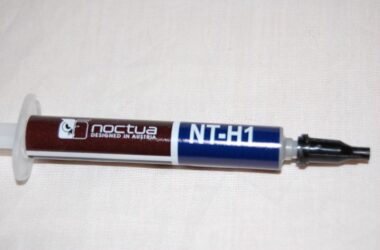
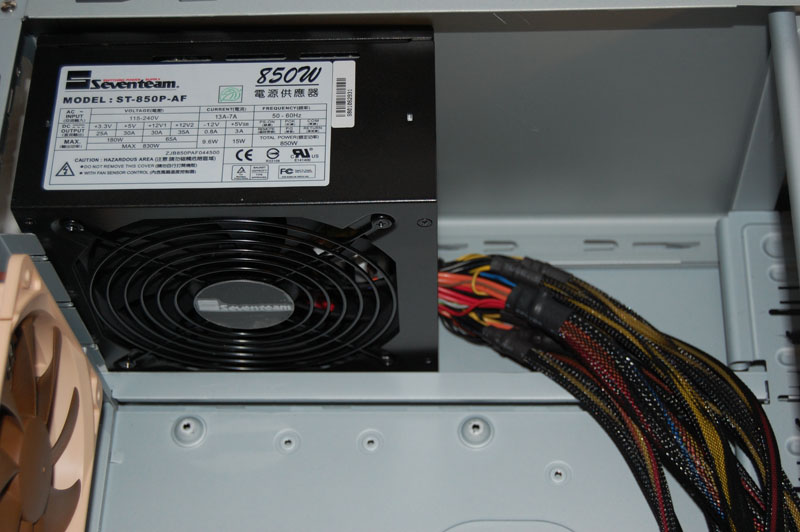
The rest of the case remains rather dark and gloomy, as the only lights are on the front of the case. Powered by a Seventeam 850W power supply and cooled by a Scythe Mugen cooler, the case is near silent.
One thing I did notice was that the sound from the hard drives is rather noticeable. I think this is due the front of the case being enclosed by mesh rather than a non-breathing material. Still, the noise isn’t that loud, even from two Western Digital Raptors.
The M9’s two 120mm fans also keep the case cool, with an idle temperature of 40°C and 47°C temperature at full load.
Final Thoughts & Conclusion
Thermaltake’s M9 chassis is a solid build. The chassis itself is sturdy, and the outside coverings attractive. With a total of nine 5.25″ drive bays, the M9 has plenty of opportunity to expand, whether it be storage-related or other accessories.
The front bezel is constructed from plastic, and it would have been nice to see an aluminum bezel to bring a little more class to the case. Regardless of this, the case remains very appealing. Also missing are premium features such as a removable motherboard tray, security locks, and additional cooling features.
As the front panel is covered with mesh drive bash covers, one may think the front panel may become very dusty over a given period of time. Since Thermaltake signed the front panel so the LEDs, USB, and power buttons are connected to the case rather than front bezel, it’s easy to take the bezel off and dust or wash it.
I had to remove the PCI card clips because my GeForce 8800GTX wouldn’t fit. Since the card doesn’t have a slit between it’s dual-slot cooler, I had to take the clips out to install the card. Honestly, though, I believe screws are a much more secure option, especially when dealing with high-end components.
The M9 has its pros and cons, but many more pros than cons. There’re a few things I’d like to see added to improve the overall quality of the case, but it’s an excellent case from my perspective. Thermaltake really did a great job designing the case, and the aesthetics, cooling, and quiet operation are definitely there.
Pros
- Clean, Attractive Design
- Front USB and Audio
- Nine 5.25″ drive bays, with a 3.5″ cage for three hard drives
- Dual 120mm fans
- Easy to remove front bezel, for both installation and cleaning purposes
- Unique 5.25″ mounting clips
Cons
- Plastic front bezel
- PCI Mounting Clips don’t fit everything.