Thermaltake Soprano DX

Thermaltake Soprano DX
Once upon a time, computers at home were meant to be functional and not be seen. As case modding approached mainstream a few years back, Thermaltake was one of the first companies to release riced-out computer cases. Computer cases these days can be some of the most attractive pieces in an office, or even a living room. There are so many cases out there to pick from that you'll almost always end up with something that you're happy with. We've got the Thermaltake Soprano DX on our bench today.The name Soprano, much like Antec's Sonata, makes us think of something cheap and quiet. This cases is something of a little brother to the Thermaltake Tsunami line, as they both feature similar designs, but different materials and hardware. The Soprano is considered an entry-level case. It's a perty piece of hardware sitting on our desks, but does bring us the quality case Thermaltake is known for? Let's find out!

Packaging, Features, and Specifications

As we've come to expect from Thermaltake, the Soprano DX is decked out in extra features, even for an entry-level case. Let's take a look at what we're getting before we cut the tape to get the case out:
  • Dimensions: 18.8" x 8.3" x 19.6" @ 23lbs.
  • Mid Tower with Piano Mirror Coating
  • Aluminum front door with elegant streamline design
  • e-SATA connector built in
  • Compatible with graphics cards as long as 12.2"
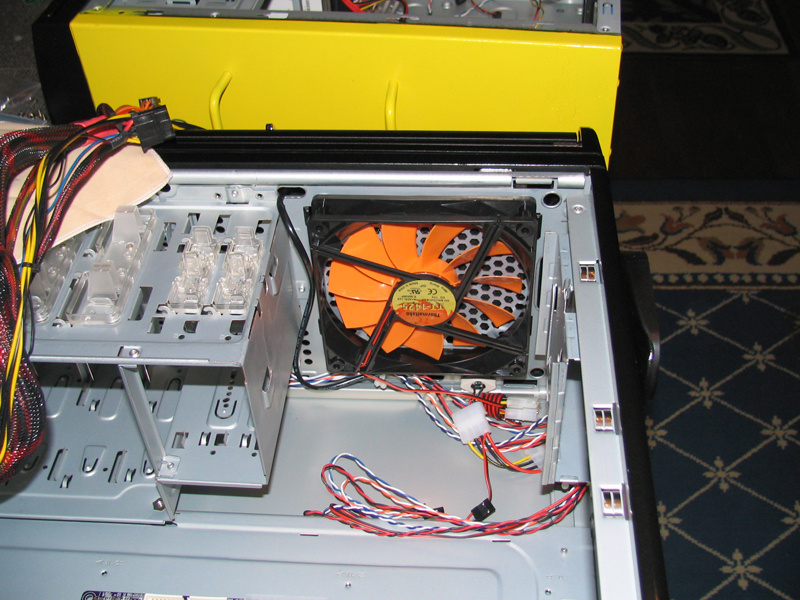
  • 14cm front and 12cm rear fans for superior cooling
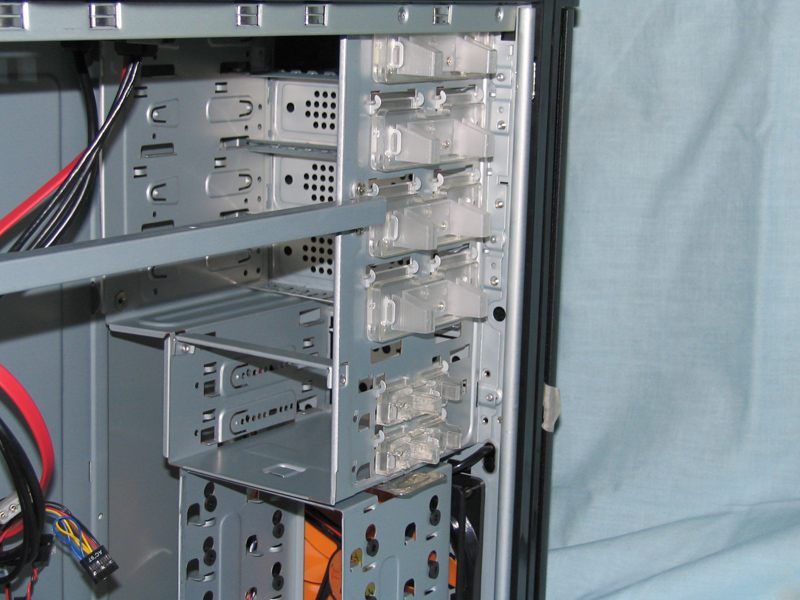
  • Drive Bays: 4x 5.25", 2x 3.5" external, 5x 3.5" internal
  • Tool-free kits for all drive bays and expansion cards
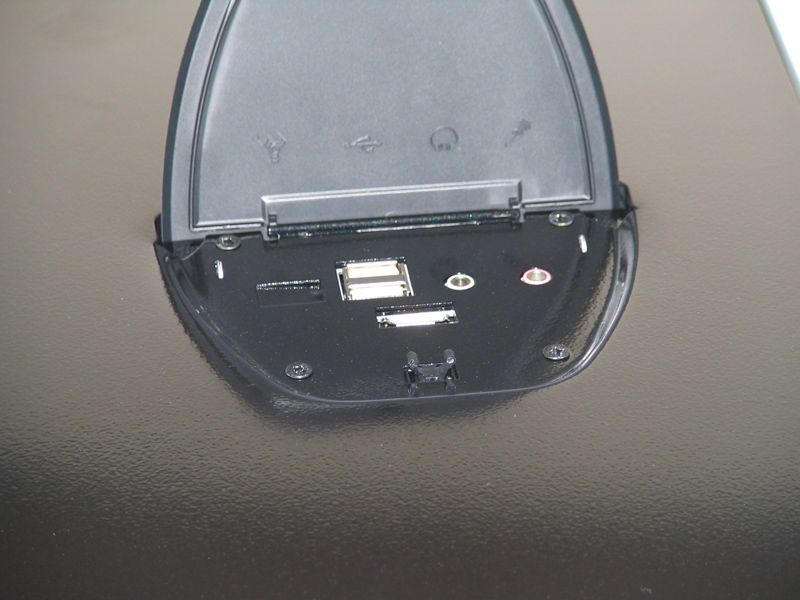
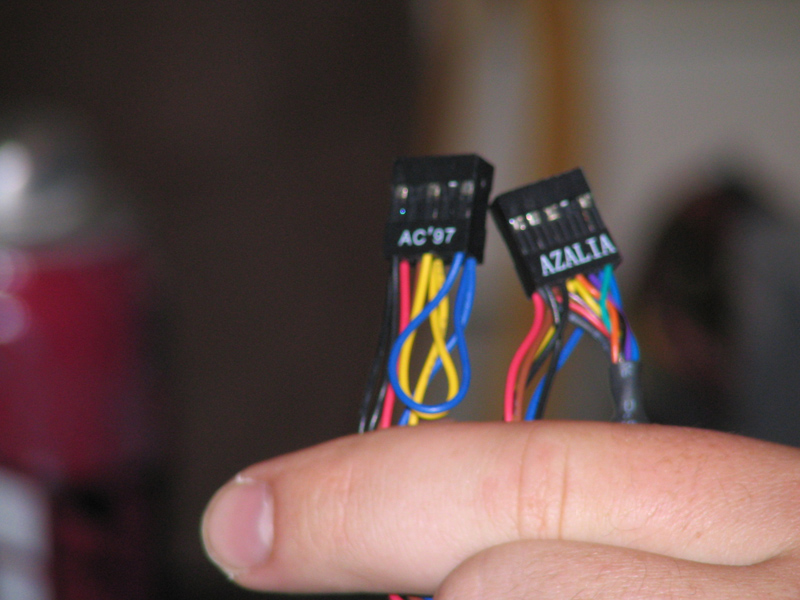
  • 2x USB 2.0, HD Audio Ports
  • Side Window with 80mm Fan
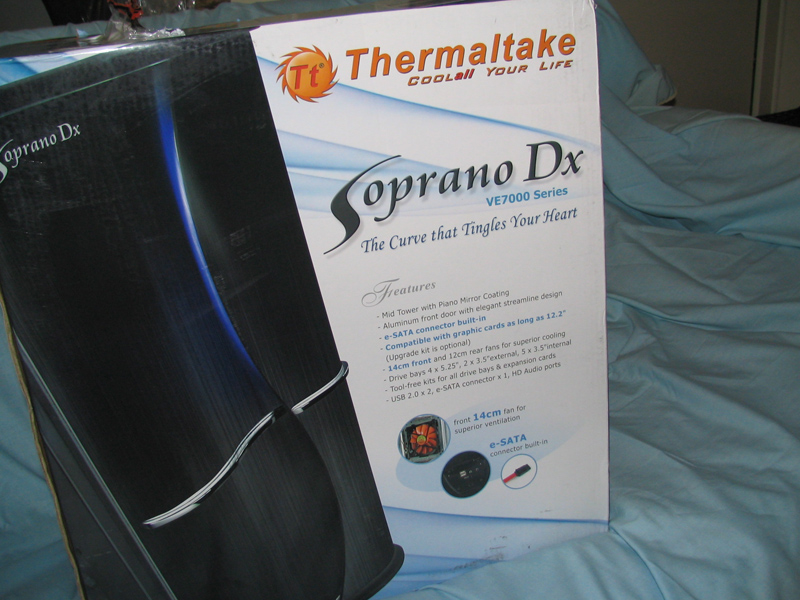
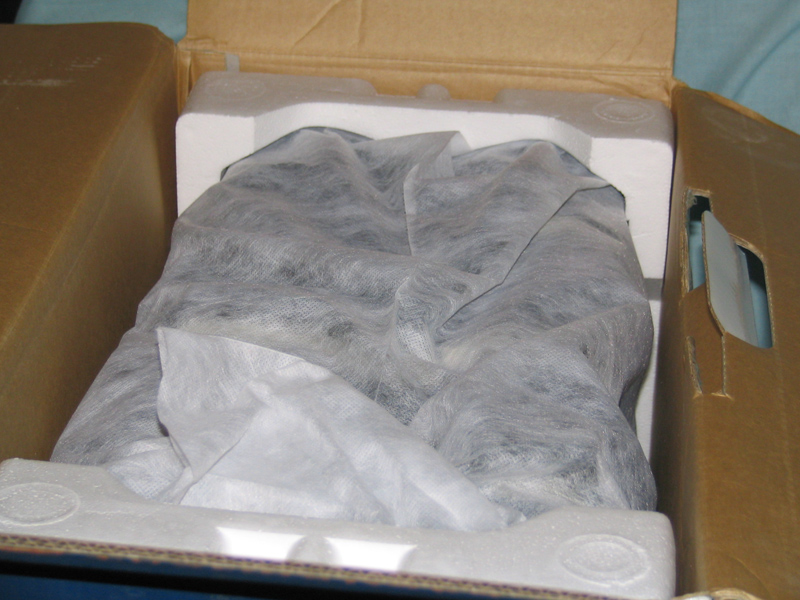
Quite the impressive list for an entry level case, don't you think? Thermaltake always impresses us with the amount of features it puts into any case it releases. e-SATA is still a relatively new technology, and it's rare to find ports on many high-end computer cases, let alone entry-level cases! Looking at the packaging, we've got a big giant box with pictures on it. I mean, beautiful pictures of the case with lists of the features you're going to find when you open it. Once we cut the tape, we found the case inside being supported with two pieces of styrofoam padding inside. The case itself was wrapped with a cloth, as the case has a very fine finish and probably scratches easily.
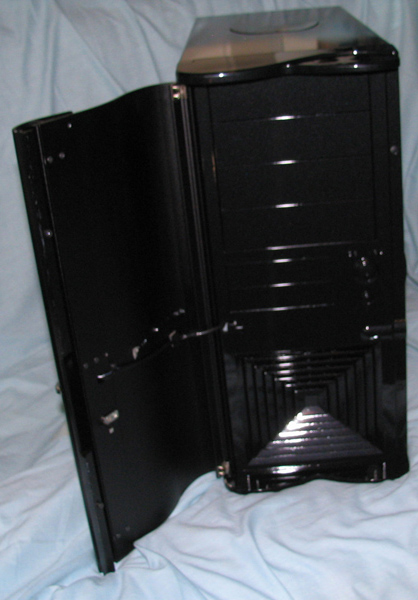
Overall, I was impressed with the packaging. This may be one of the first times I've received a case in the mail that didn't have a scratch or dent on it. I'm not sure whether this was because of the packaging, or because of the build of the case. Either way, I'm happy. Let's look at the exterior of the case.

Exterior

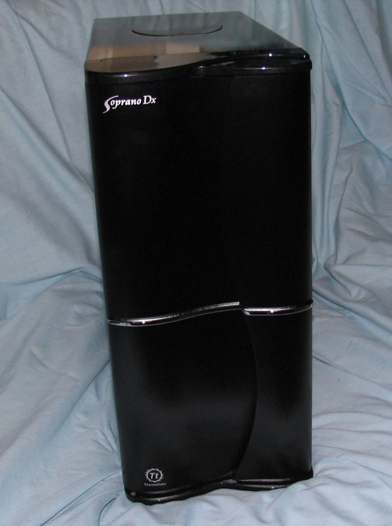
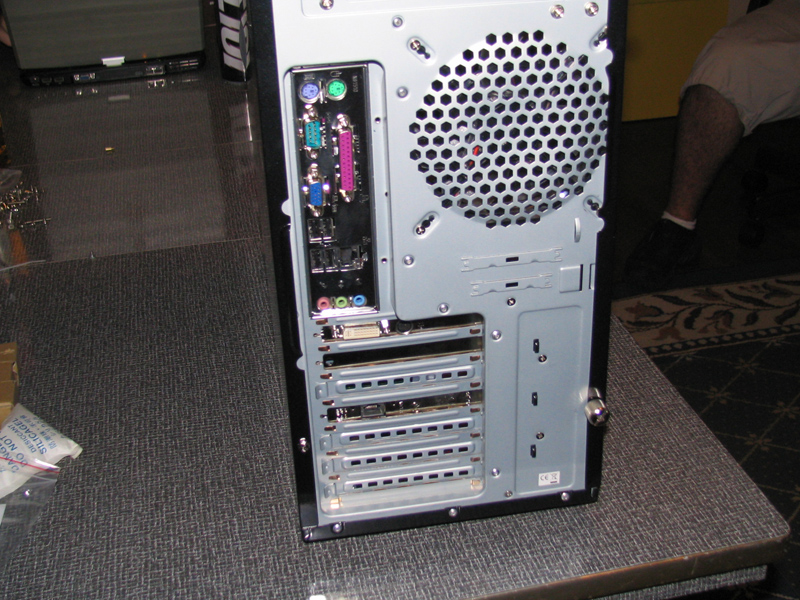
Once I had the case unwrapped, the first thing that struck me was the finish on the sides of the case. It's a definitely a piano mirror finish. I could see my reflection just fine in the black paint. The door is curved much like that of the Tsunami Dream, and feels about the same; it's got some weight to it, but not much, for it's made from aluminum. The rear is like any other computer.
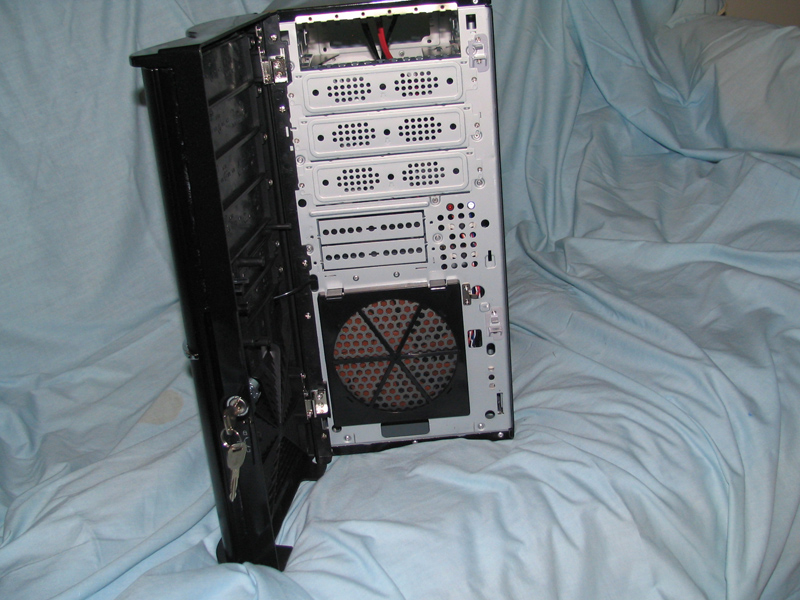
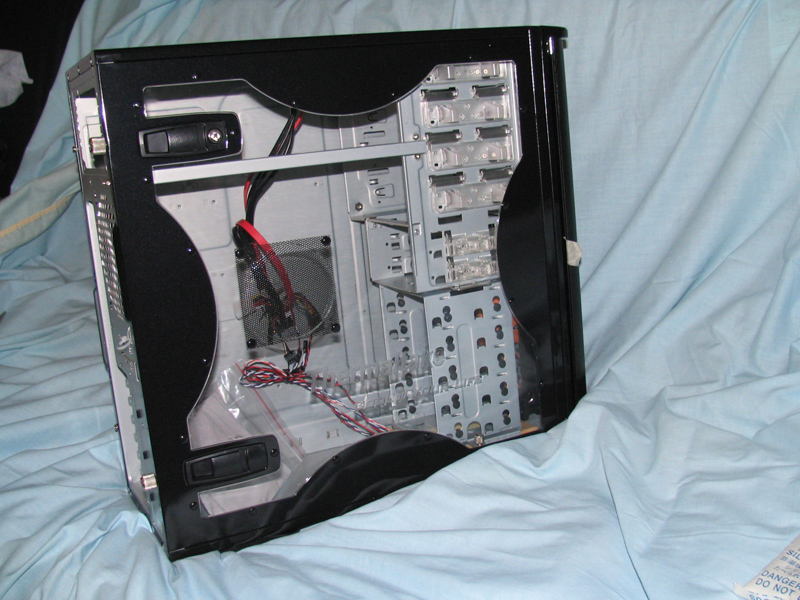
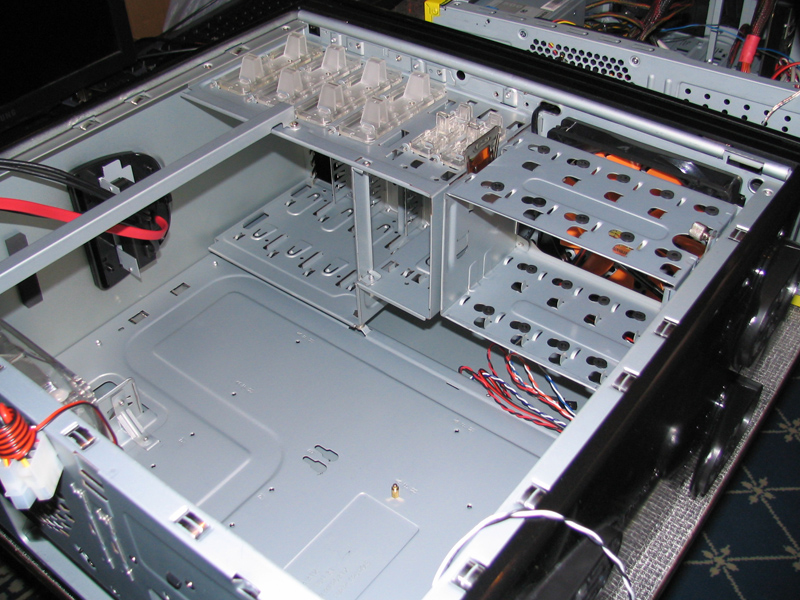
On a closer examination, there were keys hanging from a zip tie on the back of the case. There are two sets: one to lock/unlock the side panel and one to lock/unlock the front panel. I don't know why it's necessary to have two different keys for this. One set should be sufficient, shouldn't it? The side panel uses the circular-style key to lock one of the handles that opens the side, while the front panel uses a traditional key to lock the outer door, lock the front panel, or unlock both. It's a little complicated, and I've almost pulled the case off my desk because I thought I had it unlocked correctly. Aesthetically, there's an awesome X-shaped window on the side panel to see all those unorganized cables that I know you're going to put in there.
After I figured out how the key for the front panel worked, I pulled it open. I was surprised to find that behind the sturdy door, there was a plastic front panel. I knew immediately that it was plastic, for it just had that plastic look to it. I wasn't entirely please by this discovery, and I think it takes a lot away from the attractiveness of the case. Atleast I had 4 5.25" and 2 3.5" drive ways there with your stand power/reset buttons and LEDs. Turning the key once more opens allows you to pull the front panel off like a door, revealing the steel frame. There's nothing special about it, aside form needing tools to remove the drive bay covers. The case is advertised as tool-less drive bays. Points off for this. There's also a fan filter for the monster 140mm fan, which I was happy about. My room can get fairly dusty.
A few other quick notes about the exterior: Like most of the newer Thermaltake casess, there's a panel on the top of the case that pops up to reveal you're standard selection of USB Ports and Audio Jacks. And added bonus in the Soprano DX is the addition of the e-SATA port. I often place my external harddrives on the top of my computers, so this seems like an excellent spot to have the port. Unfortunately, there's not a power connector, just a data port. Still, props for the port. Aside from this panel, I really have to add that the thumbscrews holding the side panel on are MONSTERS, probably being about 3 times the size as a standard thumbscrew!
Now, let's look at the interior of the case.

Interior

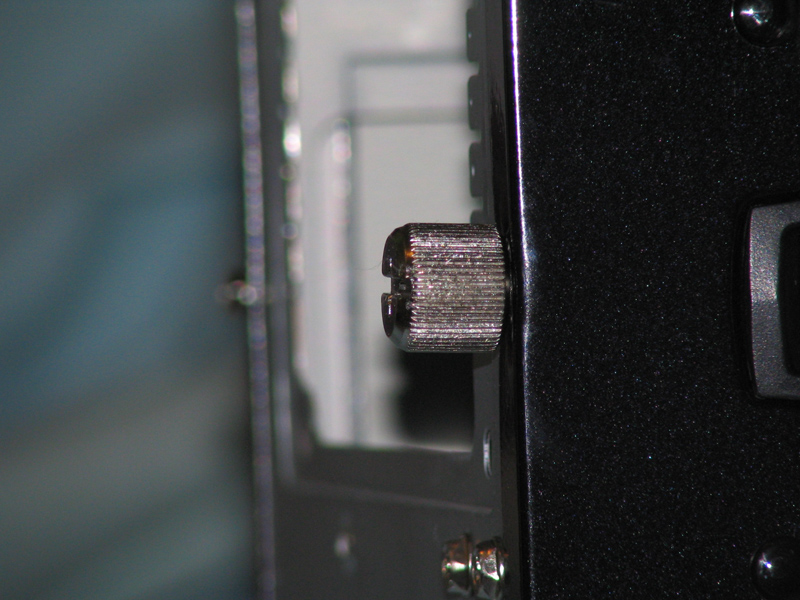
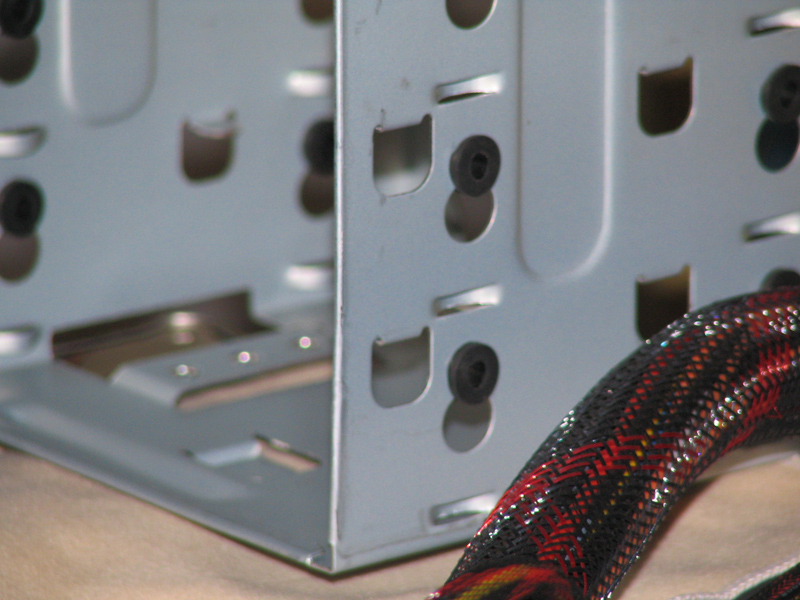
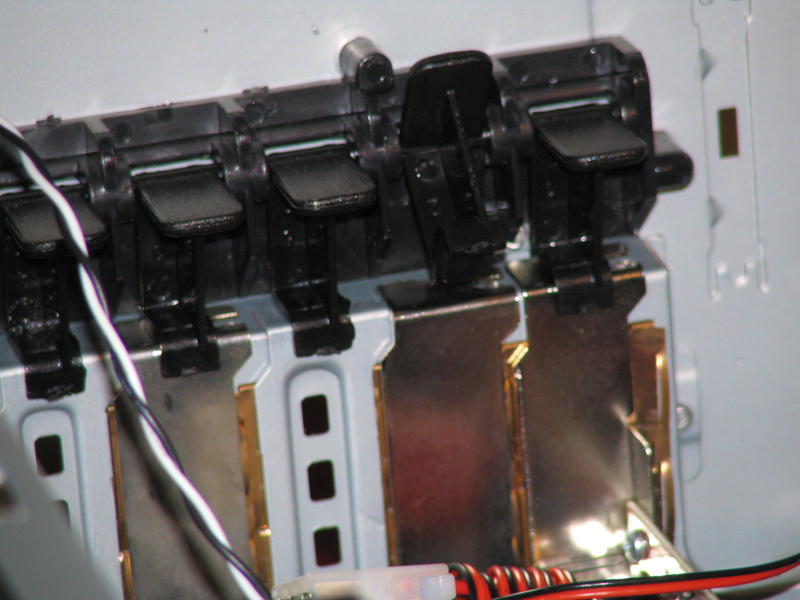
One you get the monster thumbscrews off and take off the side panel, you're greeted by the usual site of an empty case. But this isn't just any interior, there's a few special features included to put the case above the competition. You've got tool-less slides that lock 5.25" and Floppy Drives in place, saving you from having to find the right-sized screws and all that bothersome business.
The hard drive cage is removable, via a lock above it, and a thumb screw on the bottom. The removal was simple, plus there's grommets to dampen any vibrations from your hard drives. One removed, it's much easier to install hard drives since you can get screws in on both sides.
Notice the gigantic fan behind the hard drives? That fan has a disgusting 140mm radius. Remember the days when 92mm fans were considered big? This one puts them to shame. I don't know the exact cubic feet of air moved per minute, but I'm sure it's plenty. On top of it's massive size, it runs pretty quiet, too!
With that said, let's look at a more detailed installation!

Installation

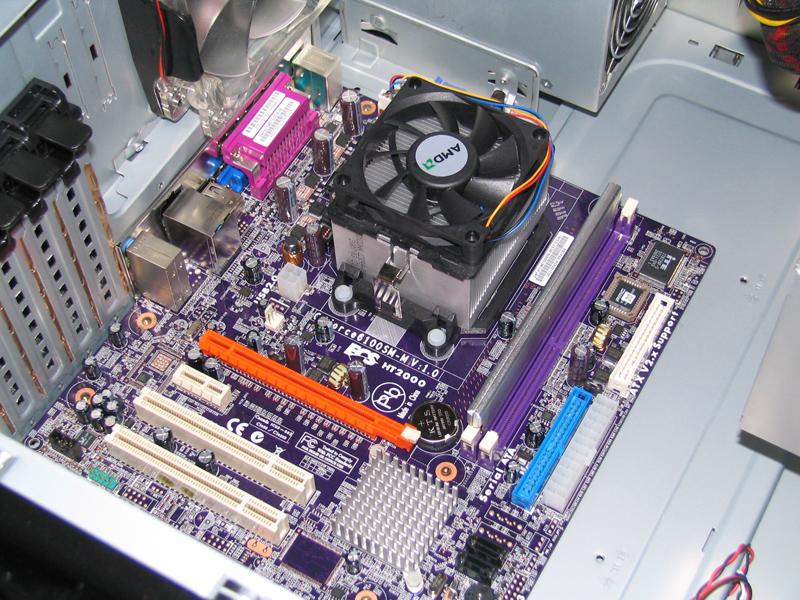
I started the installation with the powersupply (ignore the hard drive picture I posted earlier). Reason being, the powersupply is going to fit in below the bar the runs across the top, because it won't fit through the bar. I'd rather not risk damaging the motherboard by bumping it with the powersupply. That said, there's nothing special about the powersupply installation. It screws in just like any other, so let's move on to the motherboard. There's one riser installed in the case already, and it fits in about the center of the motherboard to hold the board in place while you put the other screws in. This has a divot that comes up farther than the rest of the riser, so you don't have to screw it in. Just make sure you secure the rest of the motherboard with screws so the motherboard doesn't fall off when you turn it upright.
After the motherboard was installed, I went to connect the front panel and top panel connections: Power/Reset, USB, Audio, etc. The front panel connectors were typical and nicely labeled, nothing out of the ordinary. The USB connectors were a single piece, which is always appreciated because you can fit it on in one try. I was most impressed by the audio connectors, as they gave you two options: Azalia or AC97, the two major competing connectors these days. And they're one piece, rather than broken up into separate pins. I'm going ot give Thermaltake a lot of credit for this, as I almost never hook up my audio connections because of poor labels. Not with with case, though. Additionally, a regular SATA cable drops down from the e-SATA port and plugs into your motherboard.
Now it was time for the expansion cards: I've got a Radon X600 PCI-Express videocard and a SATA PCI-Express controller that I use with this motherboard. I was happy to find that the expansion slots were also tool-free. There's a set of black clamps above the slots that hold the expansion cards in place. Just pull them up to release, and push down to lock it in place. Simplicity is always a plus when building a PC.
This left me to install the optical drives and run all the various cables inside the case. The optical drives were no challenge, as they simply lock in place with the sliders. I was, however, disappointed to find that my hotswap SATA drive wouldn't fit because there's no room behind the door for things that stick out beyond the front panel. I guess I'll have to find a new home for it. After running the various data and power cables, I didn't ifind anywhere to easily or neatly organize the cables. I ended up stuffing the majority of them into the empty drive bay spaces. Only a temporary solution. Now let's turn this thing on.

Conclusion

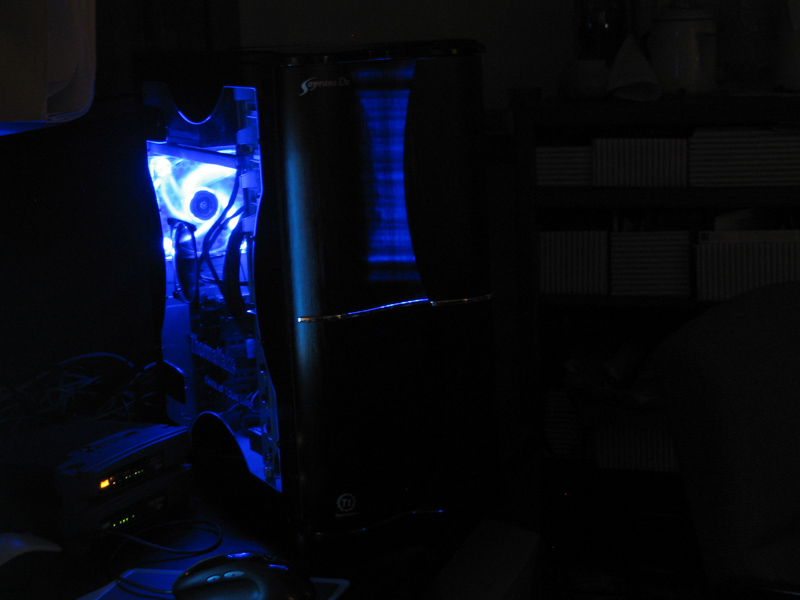
Upon turning it on, I was happy to find that the rear fan had blue LED's in it. Lights are always a plus when there's a side window. Similarly, the door on the front has blue lights behind the handle and throws off a nice glow on the front. I was fairly pleased for the lights and general quietness of the case while running. Measuring the interal temperatures, the hard drive were running at ~38°C, while the CPU was idling at 40#176;C and case temperature hovered between 35#176;C and 38#176;C. Not too bad. I think the 140mm fan in the front really does help, but cables hiding in the hard drive bays didn't help airflow, either.
Overall, I'm pleased with the case. I have a few issues with some of the design features, but you have to keep in mind that this is an entry-level case for Thermaltake with the $120 price tag. I think one of the biggeset improvements Thermaltake could make with this case is changing the front panel to an aluminum material, rather than plastic. It just doesn't feel like a strong plastic and feels like it may break if even gently dropped (accidents do happen). Interested parties can head over to NewEgg to pick on of these up. Pros:
  • Sturdy construction
  • Two monster fans
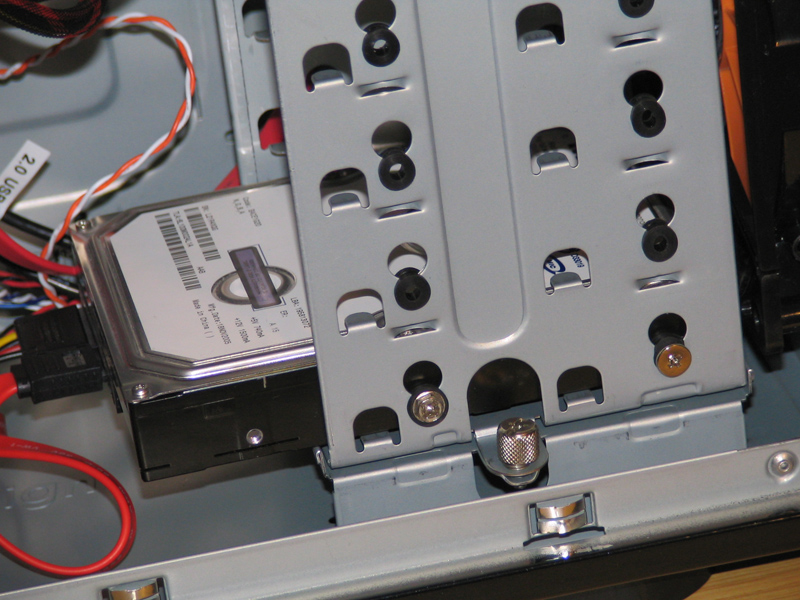
  • Removable hard drive cage
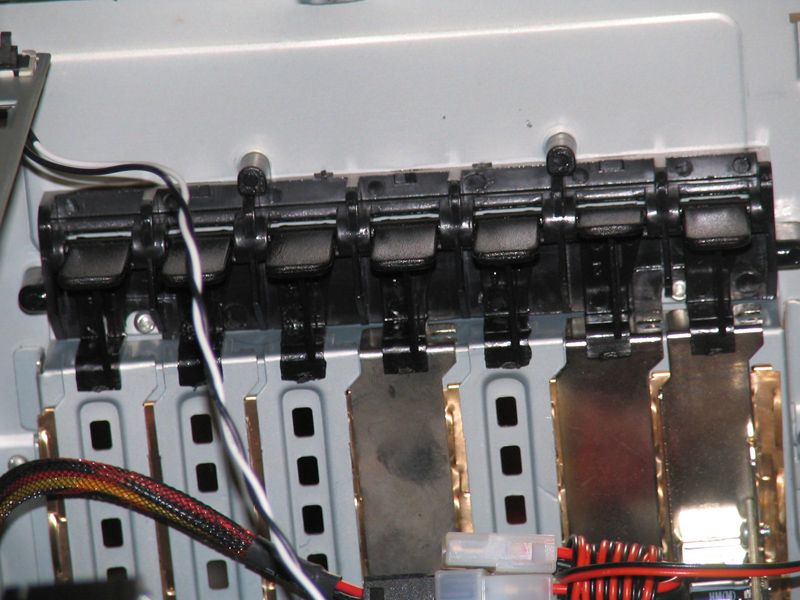
  • Tool-less drivebay installations
  • Tool-less expansion card installation
  • External USB, Audio, and e-SATA ports
  • Side Window with light-up LED fan
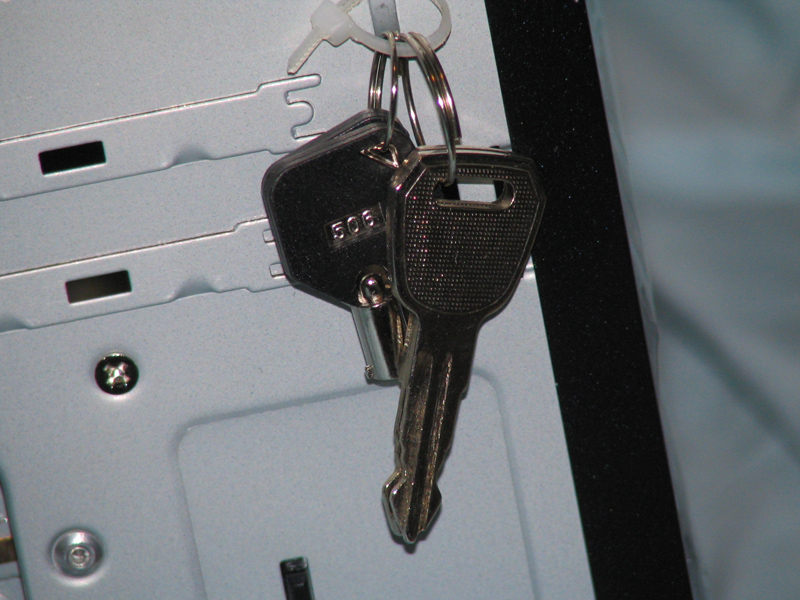
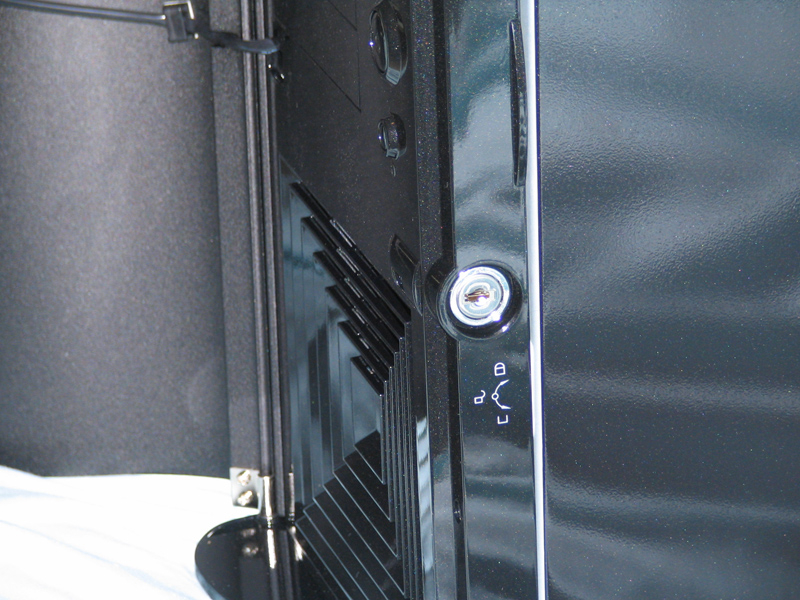
  • Plenty of security locks
Cons:
  • Plastic Front Bezel
  • Drive covers are screwed in, meaning a not-so-tool-less drive installation
  • Locks are a little complex
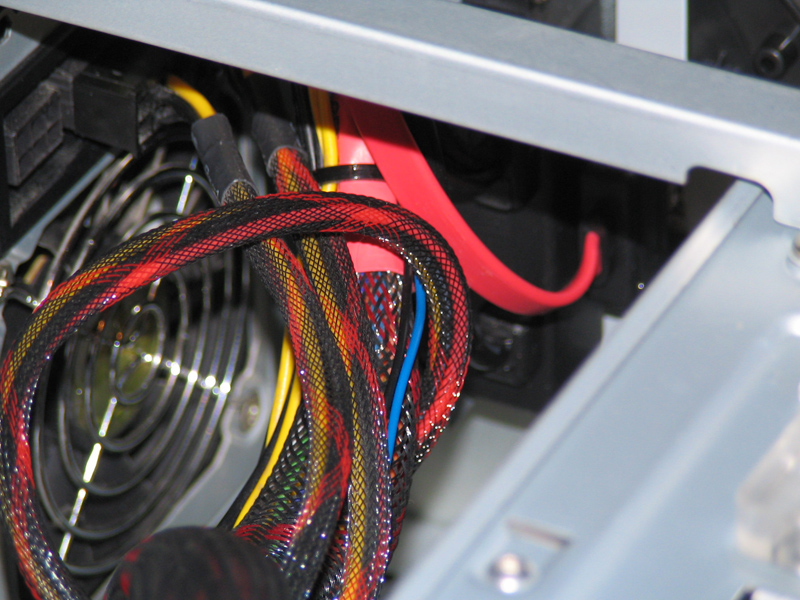
  • Little Space for Cable Management
  • Powerbutton takes some effort to push in (this can also be good if you're one for accidentally hitting power buttons, or have their jerkoff friend doing it for them)
  • No external port for e-SATA power

Rating

8/10

Sean Potter

Editor-in-Chief
I've been a dedicated Linux user for over two decades, and have been building computers and servers for even longer. My professional career has taken me down the path of simultaneous systems administration and web development, which allows me to constantly strengthen my Linux-fu.

View Posts