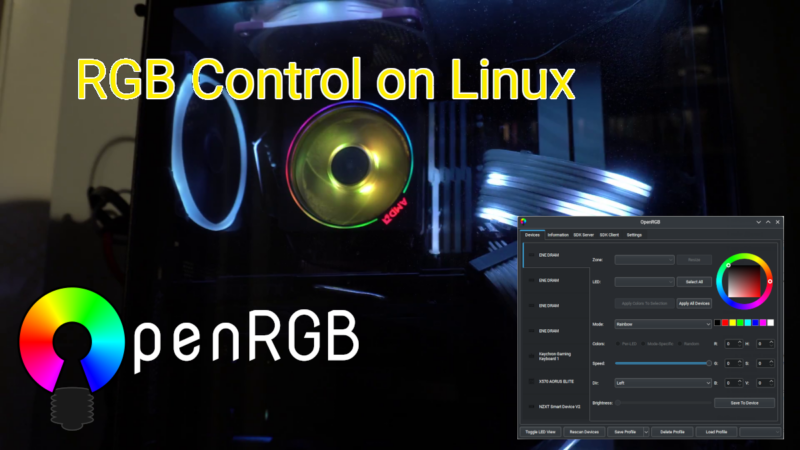
Gone are the days of mounting cold cathode tubes and UV-reactive accessories in computer cases. Modern computer cases, motherboards, GPUs, fans, and even NVMe drives now feature integrated lighting by means of LEDs. Through the use of primary-color LEDs – Red, Blue, and Green – these devices can create nearly any color combination to illuminate computer components. With the addition on an RGB controller, whether smart or “dumb”, each individual LED (or sometimes “zone” of LEDs) can be controlled to create incredible patterns and effects, bringing more life and entertainment to computer components than cold cathodes ever could.
The Problems with RGB
The first problem with smart controllers is that every manufacturer has opted to implement their own protocol to control these RGB devices, often leading to incompatibilities between brands. One brand may offer the best software and lighting effects, but they may not offer accessories that fit every use case, leading to different lighting schemas that don’t mix well. Other brands may release new controllers on an annual basis that end up breaking support with new software releases or leaving older hardware behind.
The second problem, as found with most PC hardware, is that Linux support is essentially non-existent from the hardware manufacturers. A number of open source projects have appeared over the years, but each of these projects focused on supporting a single brand of RGB, such as Razer Chroma or Asus Aura. This is exactly what using RGB on Windows looks like as well: a separate application for each brand’s implementation of RGB, which often utilize large amounts of both RAM and CPU.
The Solution: OpenRGB
In 2019, Adam Honse released the first version of OpenRGB. It was still a work-in-progress, however it was to control Asus Aura devices on both Windows and Linux. Adam spoke of wanting to grow the project bigger and include more brands and devices:
“This project was originally just to support Asus Aura motherboards and RAM, but I want to go bigger and support as much as possible from one app, both Linux and Windows, without any official/closed source software. I'd like the community's help in supporting more devices and would be happy to help you with reverse engineering.”
And in true open source community fashion, OpenRGB has grown to support nearly every major manufacturer’s RGB implementations, and then some. Even the Keychron mechanical keyboard this article is being typed on is supported. The OpenRGB wiki has a full list of devices supported.
OpenRGB is now providing Linux users a way to control the RGB effects on the hardware they paid for, from a single application. Not only that, but the application is cross-platform, also granting the same ability to both Windows and MacOS users from the same user interface on each platform.
Installing OpenRGB
The early days of OpenRGB didn’t include packaged releases from Linux, so installation was done by downloading the source code and compiling it locally. Presently, the community has grown and is now able to offer packages for distributions compatible with Debian, Red Hat, and Raspbian, as well as an AppImage package. For those wanting to run the latest bleeding-edge version, compilation instructions are available on their wiki.
It is important to note that OpenRGB is still considered to be in beta at the time of this writing, so note there is always a chance the software could damage or brick your hardware. That being said, I’ve been a user since the first release and have had no issues across several different computers.
The latest release can be retrieved from their website, and can then be installed either using the GUI or CLI depending on your preference. For example, on Debian-based systems from the command line:
sudo dpkg -i openrgb_0.7_amd64_buster_6128731.deb
Installing from a package will also install some necessary udev rules for allowing non-root users to access and control the RGB hardware. Depending on the Linux distribution, some additional steps may be required in order to grant access to all the supported RGB hardware. All users will need to grant access to the SMBus:
sudo modprobe i2c-dev
Users with Intel chipsets will then need to run:
sudo modprobe i2c-i801
sudo modprobe i2c-nct6775
Meanwhile, AMD users will run:
sudo modprobe i2c-piix4
Attention should be paid to the OpenRGB wiki, as there are several noted exceptions to the instructions above where kernel batches or boot parameters may be necessary depending on the hardware in use. Once complete, running RGB will scan the system for supported devices and then load the primary interface.
Using OpenRGB
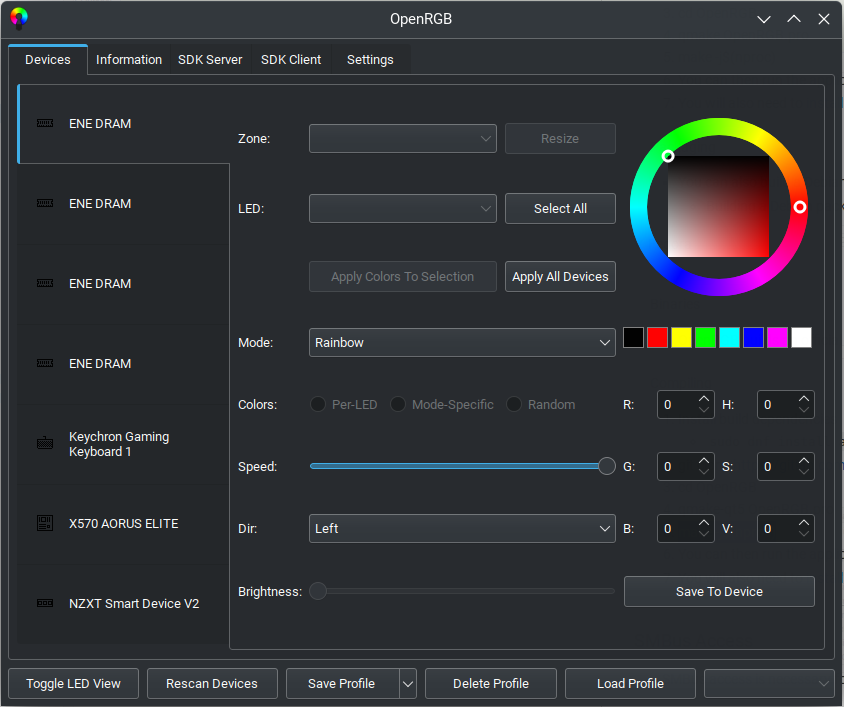
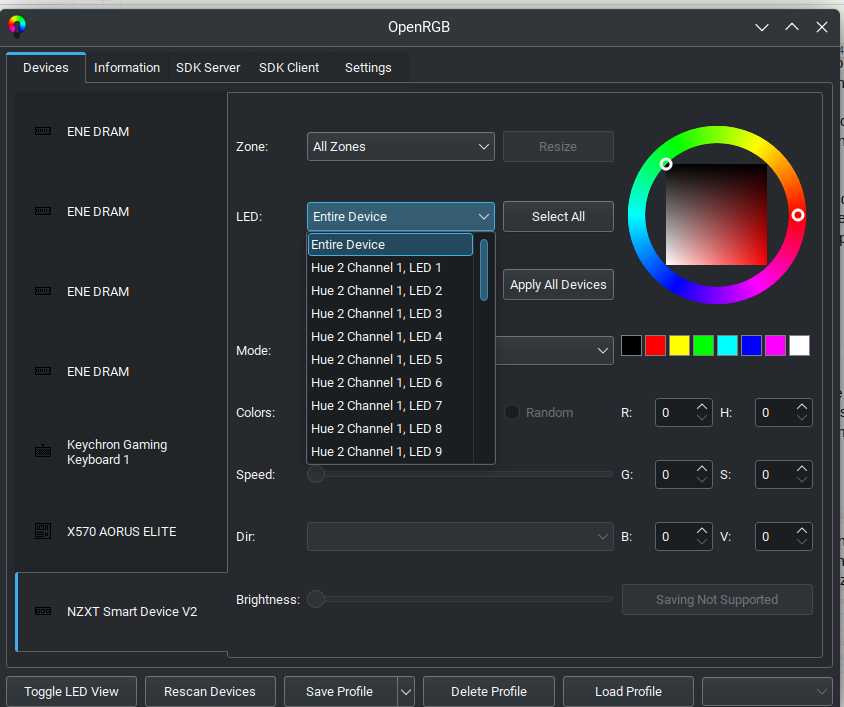
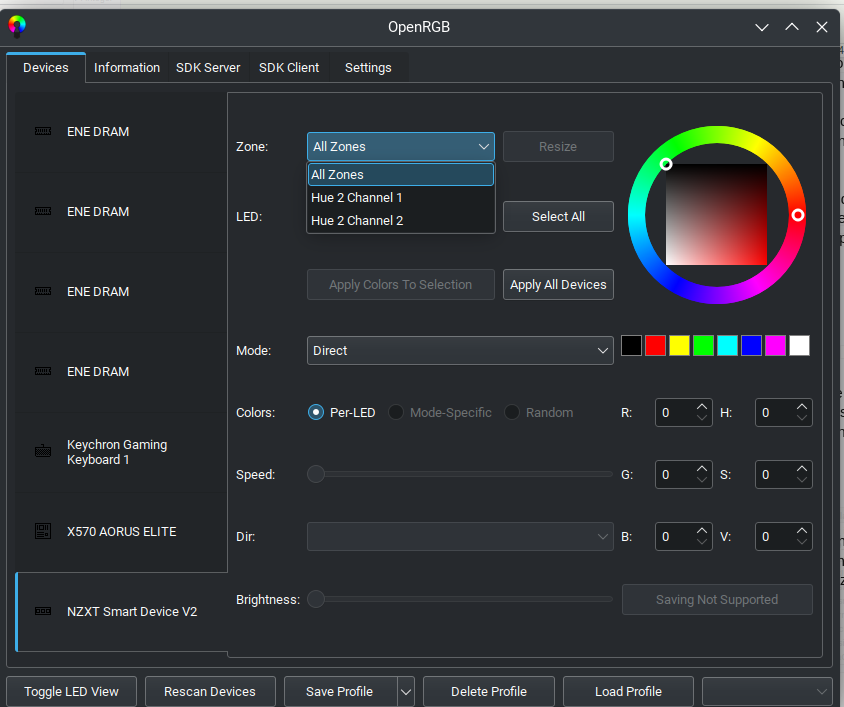
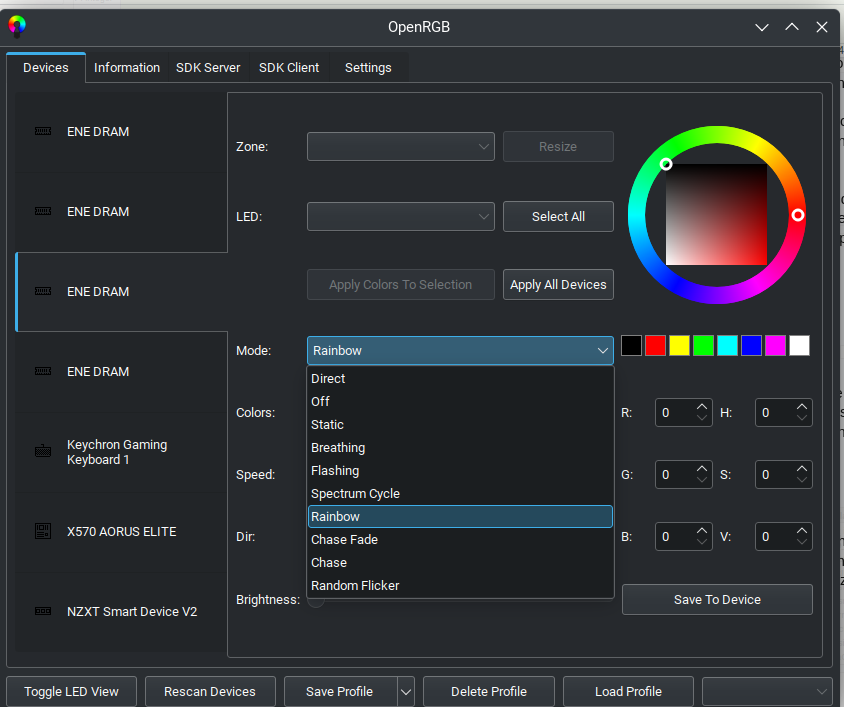
All the support hardware on the system appears in the left-hand side of the interface, while device-specific controls for each device are on the right-hand side. Depending on the RGB controller, OpenRGB will allow for LEDs to be controlled in zones, individually, or as a single device. Additionally, if the hardware on the system supports the same light effects, the selected configuration can be applied to all the RGB controllers with the click of a button.
The lower half of the controls gives options for lighting effects, and control over those effects: speed, direction, brightness, etc.
One of the best features of OpenRGB is the ability to save and load multiple configurations. Lighting can be configured for different times of day, activities, or moods, and be saved and loaded at any point, automatically moving all the support devices to the saved configuration. Imagine trying to do that on Windows with three or more RGB applications.
Additional Features
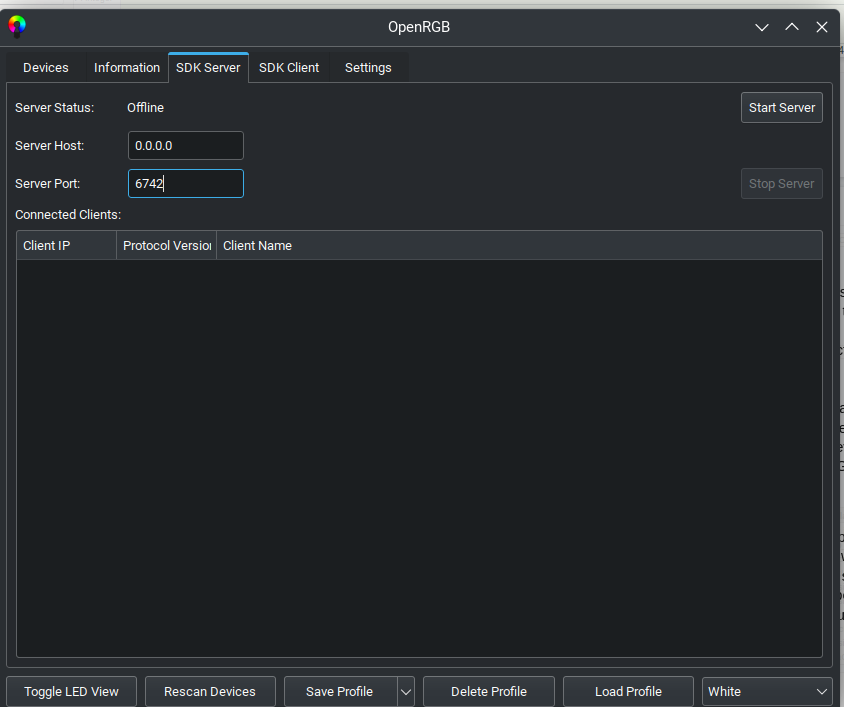
Aside from controlling onboard RGB hardware, OpenRGB provides a Software Development Kit (SDK) interface, allowing for other applications to integrate with OpenRGB over networks. This alone opens tons of additional opportunities for OpenRGB, such as allowing hardware creators to create remote RGB controllers that can interface with OpenRGB over wifi, Bluetooth, and more. One such implementation would be tying in with a plugin for OBS Studio that could change RGB settings based on events in a livestream.
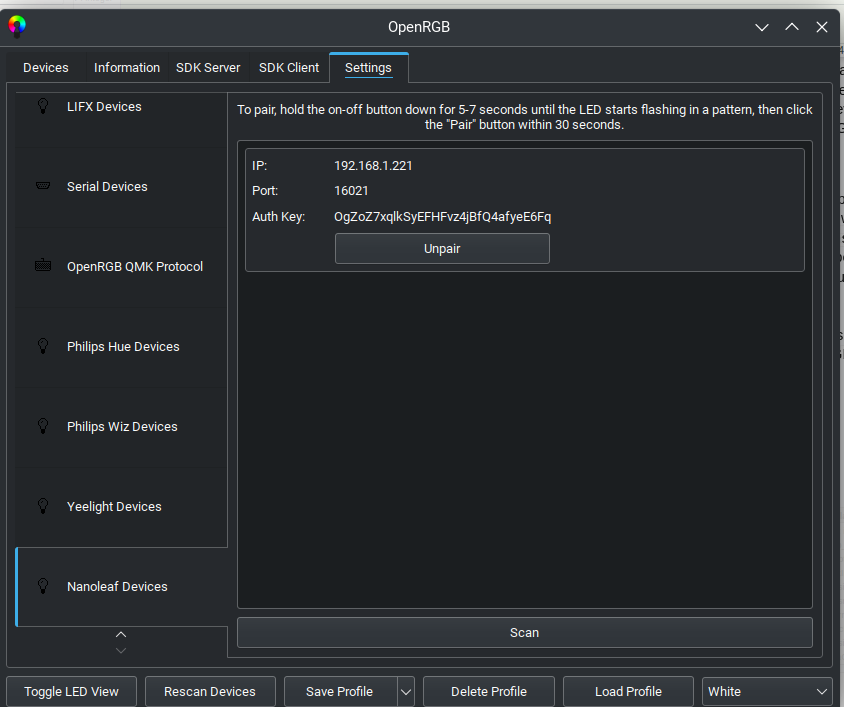
OpenRGB also allows pairing with network devices such as Nanoleaf, Philips Hue, Yeezlight, and more, further allowing users to fully customize their RGB setups from a single application and change lighting in seconds.
Thanks to work on the OpenRGB community and open source community as a whole, it’s also possible to build completely custom RGB implementations using hardware such as an Arduino as a controller, in conjunction with open source lighting protocols such as the Corsair Lighting Protocol on Github.
Conclusion
While desktop lighting effects may not be a crucial part of computing, it is a
n entertaining and neat feature built into many desktop components – from motherboards to GPUs, fans, power supplies, keyboards, mice, and more. Windows users have long had the advantage of being the only users able to control these elements, but OpenRGB has opened the door for Linux and even MacOS users to join the party.
Thanks to the efforts of Adam Honse, the community he’s built around OpenRGB, as well as the other open source projects that have built applications for controlling these otherwise proprietary RGB controllers, Linux users can now control a vast majority of RGB hardware on the market from a single application. With the ability to save and load multiple profiles, users can easily switch between an unlimited number of lighting configurations with the click of a mouse.
Visit the OpenRGB homepage to get started with OpenRGB, and if you’re able, make a contribution to their Patreon to further support the project.


