


Introduction
I first started mounting my monitors on stands about ten years ago, and I haven’t looked back since. Particularly in the early days of LCD monitors, and of course with CRT monitors, I never really took the time to realize how much I had to look downwards to see the monitor on my desk. Mounting monitors on stands raises them significantly higher and brings the monitor in-line with line-of-sight. This is not only a more comfortable view, it’s much more ergonomic for long sessions on a computer.
In addition to the ergonomics, using monitor mounts frees up a significant amount of space on my desk, and provides a great way to conceal any cables going into the monitors or webcams and ring lights.
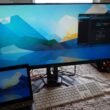
Unfortunately my previous monitor mounts weren’t able to deal with the shear weight of the 34” Gigabyte M34WQ I purchased earlier this year. I basically had to put some placeholders under the monitor to keep it high enough on these arms to make it usable until I found a solution.
After browsing through products on Amazon for a few hours, I decided upon the Vivo V100H. Promising support for up to 49” monitors, I figured this mount would have no issues supporting my 34” monitor.
Features and Specifications
The Vivo V100H is a versatile monitor mount that will create a great viewing experience no matter how you mount or angle it. Let’s look at the specifications first:
-
Weight: 17.51 pounds
-
Screen Size: Ultrawide screens up to 49" (weighing up to 39.6 lbs)
-
Screen Types: Curved and Flat
-
VESA Standard: 75x75mm, 100x100mm, 200x100mm
-
Articulation: +45° to -45° tilt, 180° swivel, 180° rotation
-
Height Adjustment: 5.9” to 25.5” (center of screen)
In addition to wide-range of mounting options, the V100H also comes with several innovative features:
-
Smooth Pneumatic Lift – The counterbalance spring adjusts to the weight of your monitor and smoothly raises or lowers the screen with ease.
-
Integrated Cable Management – The arm’s cable cover routes power and AV cords, keeping them out of sight for a clean and organized workspace.
-
Hardware Included – All hardware and instructions are provided so you can get your new stand assembled in no time!
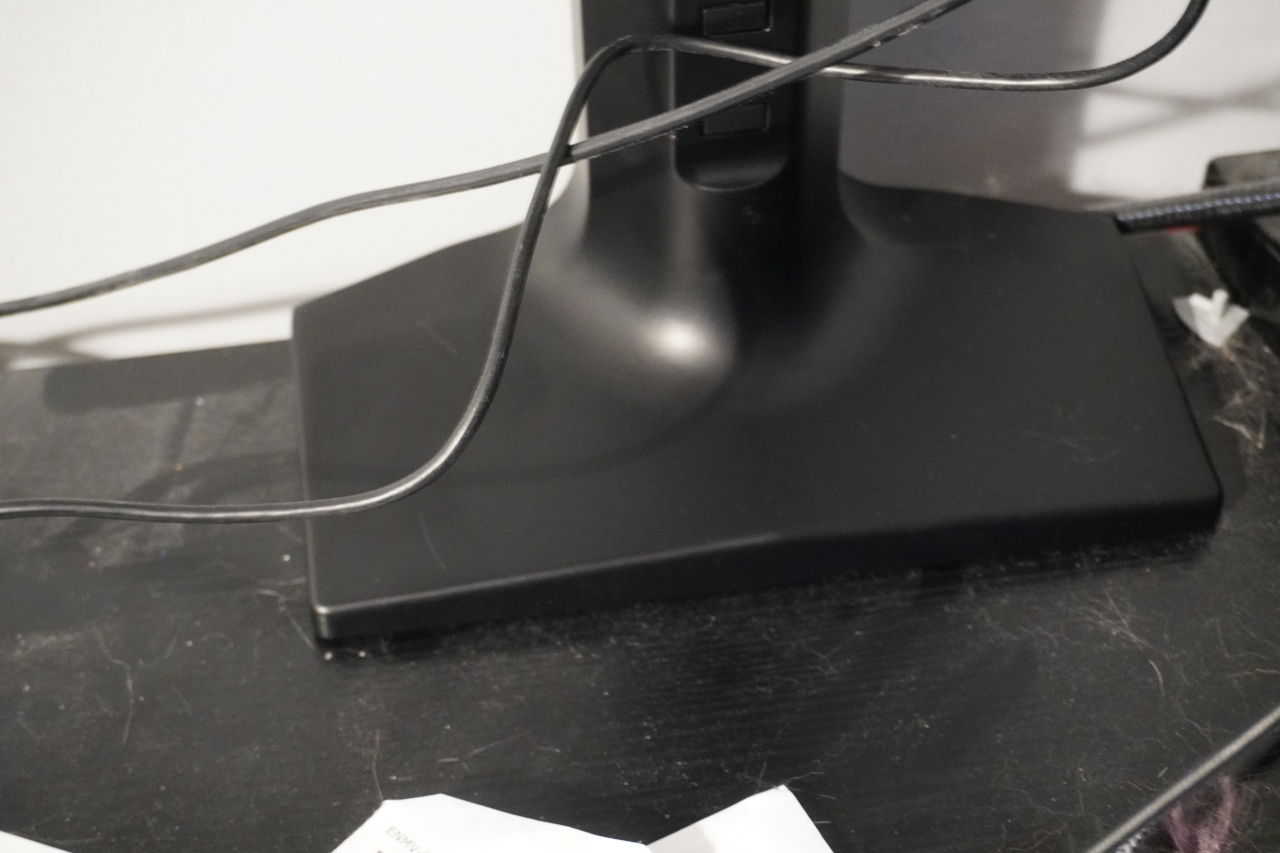
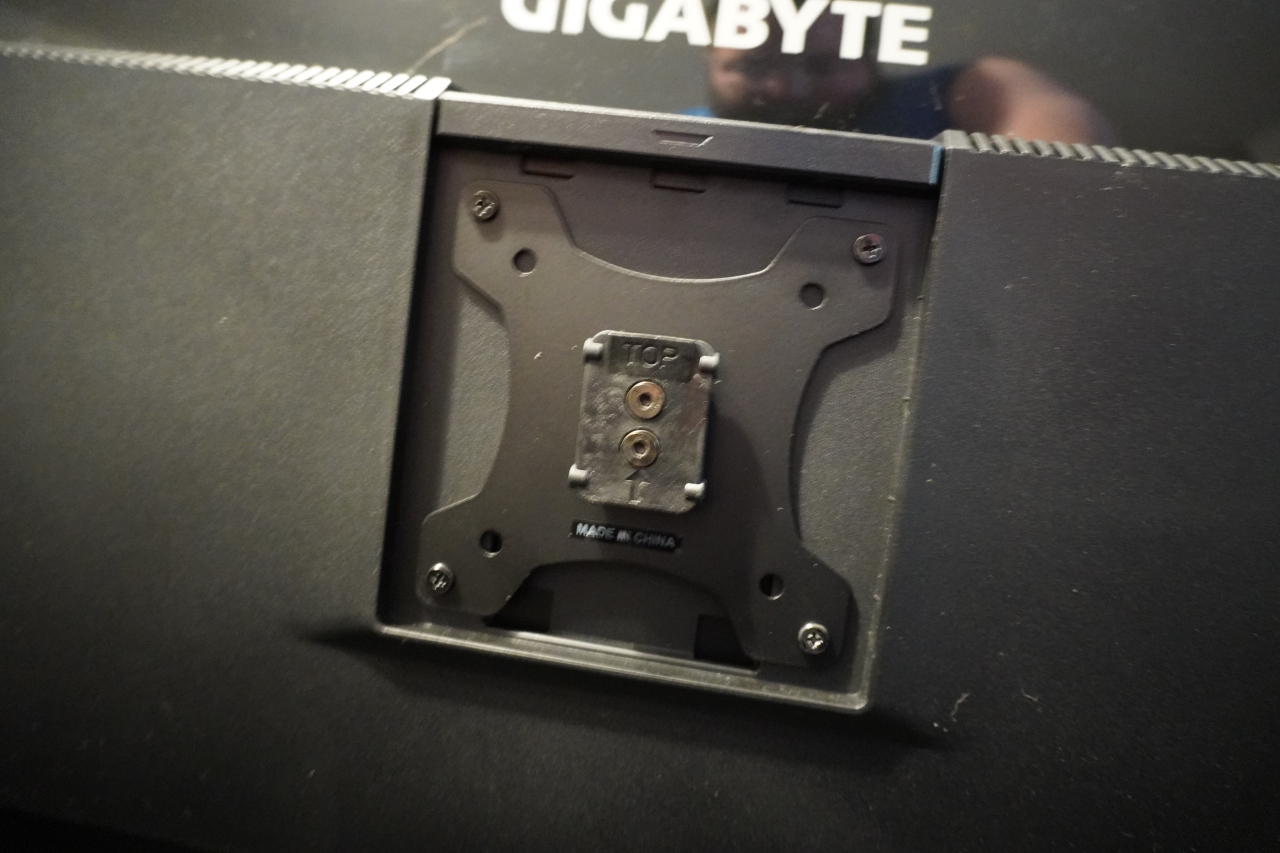
Thankfully the Gigabyte M34WQ uses the standard VESA 100x100mm pattern for mounting, and weighs well under the maximum 39.6lbs that this mount can support.
Unboxing and Assembly
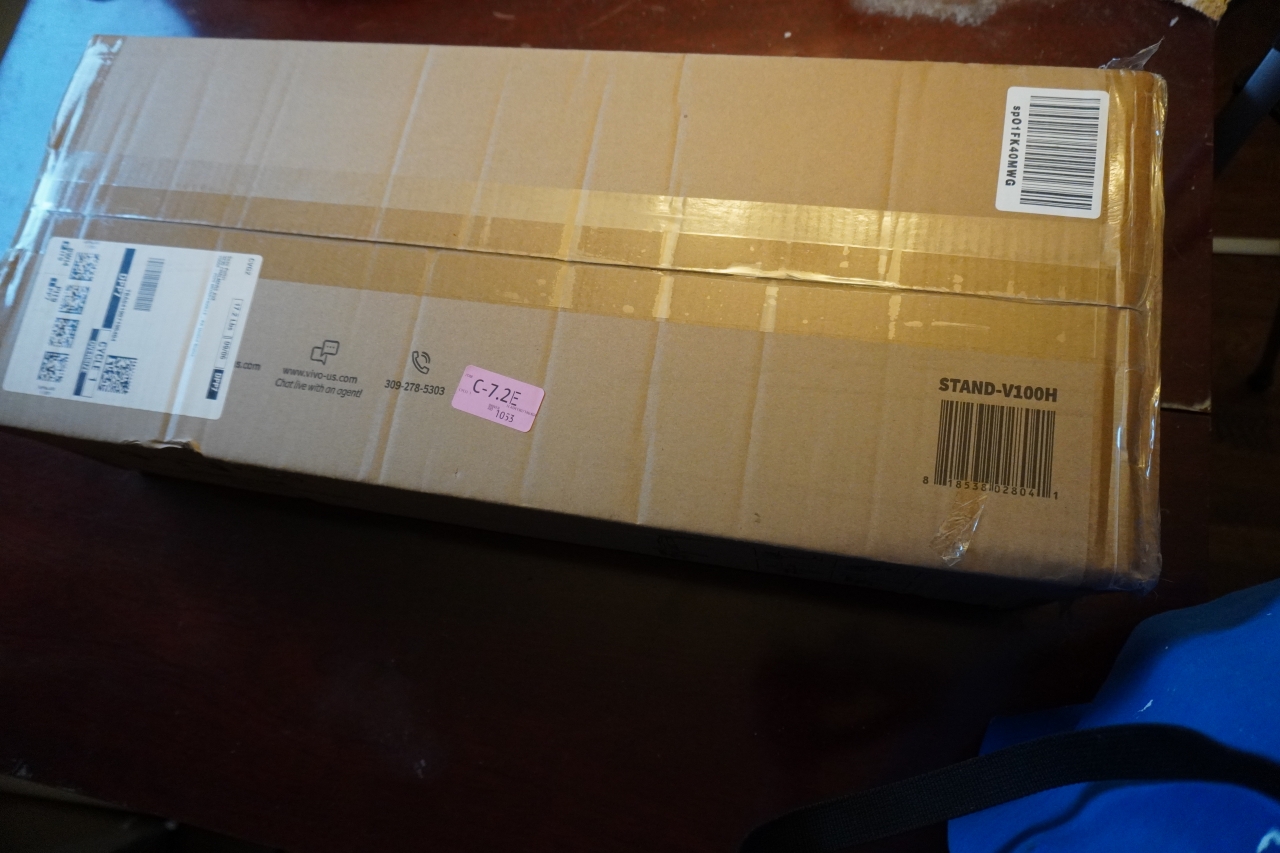
The Vivo V100H arrived in a fairly standard brown cardboard box, with some basic branding and a diagram of the stand itself. Inside, the stand and accessories are packaged in plastic and what appears to be a recycled cardboard container.
Once unpacked, I was left with a collection of mounting plates, instructions, various screws and washers, and the arm mount itself. All of the parts appear to be very well manufactured and structurally sound. It was also nice to not find any sharp edges on any of the manufactured aluminum.
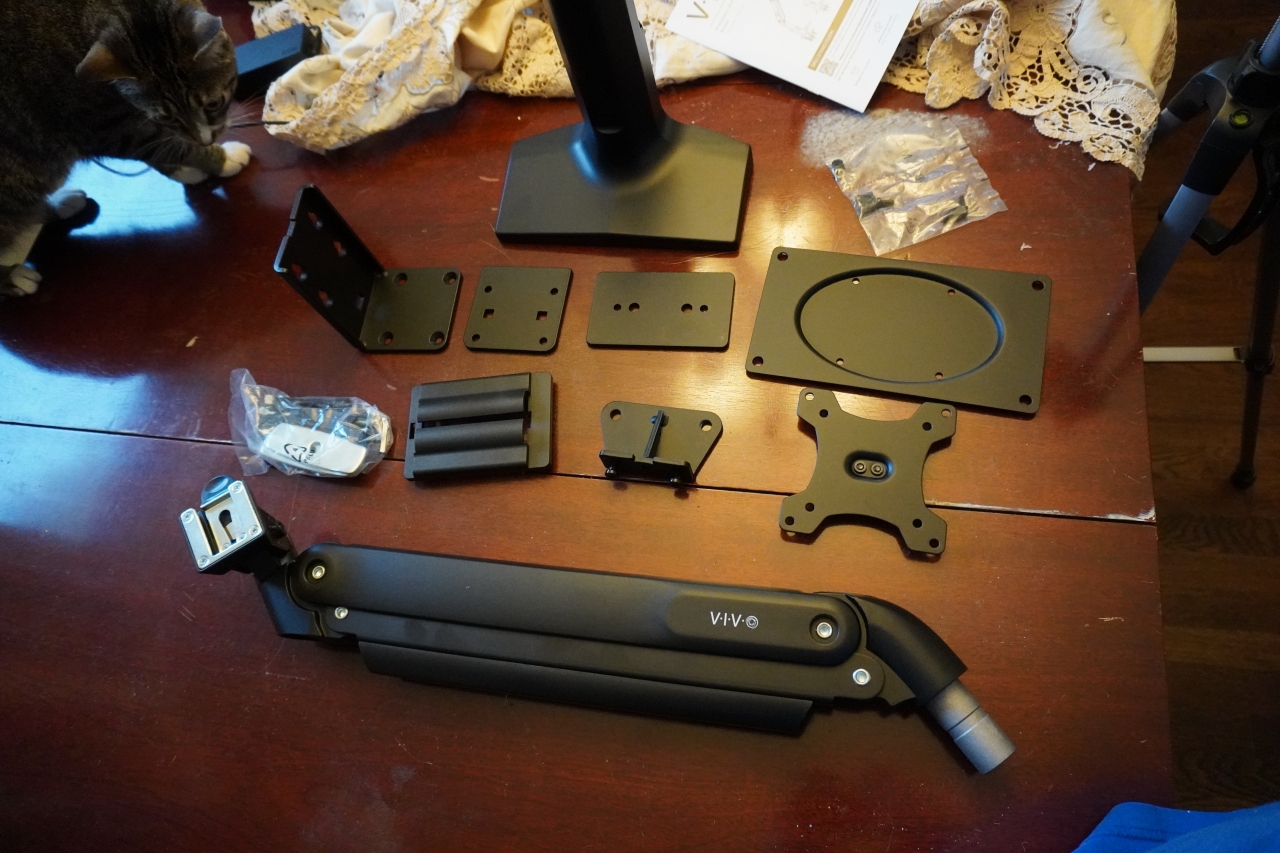
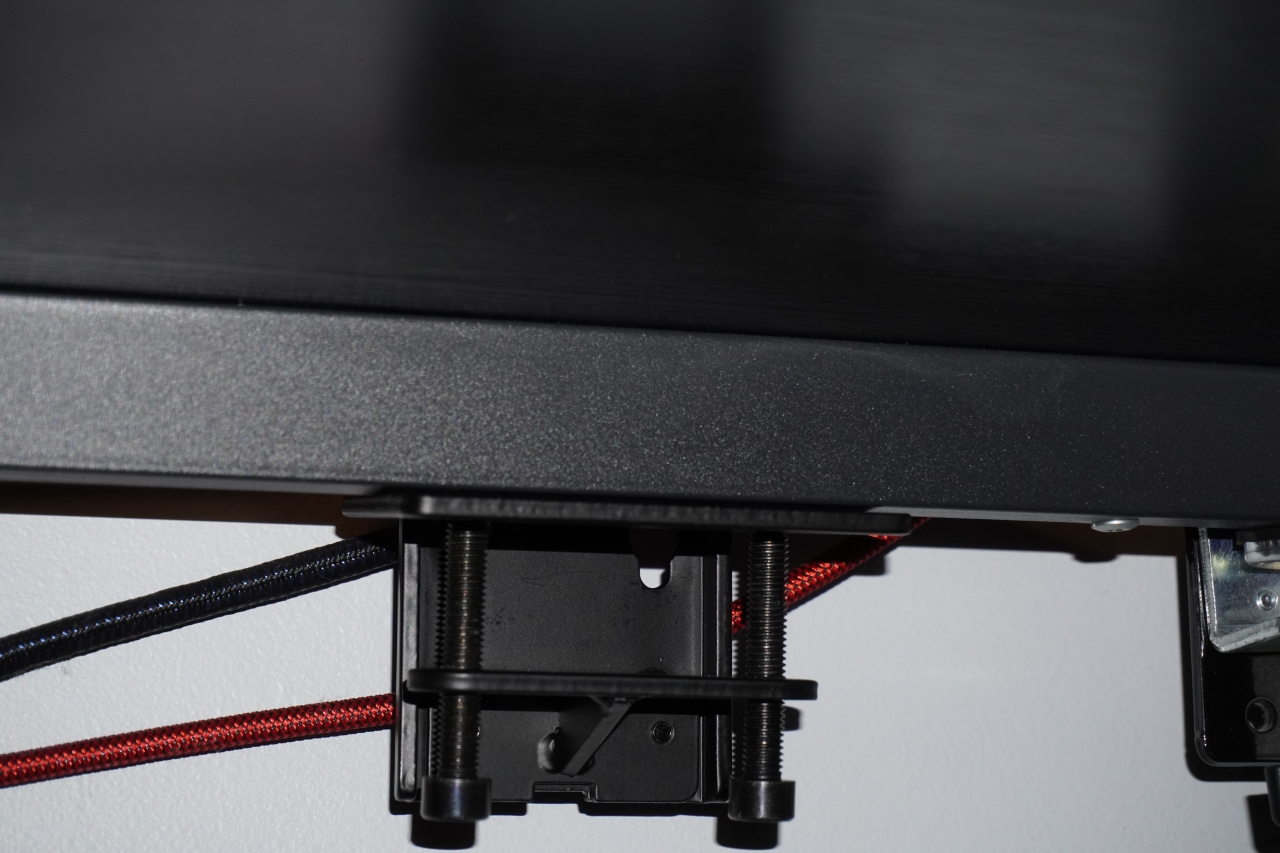
There were two options for mounting the stand to the desk: clamps or drilling. I opted to go with clamping the stand, as it makes it easier to adjust and that I intend to replace my current desk in the near future.
Once the top portion was on the desk, I was able to begin tightening the bolts on the underside to lock everything in place. While this proved to be a solid mounting solution, I wasn’t initially comfortable with it because the plate that clamps on the underside isn’t physically attached to the mount itself. There are two holes that the ends of the tightening bolts bit into, so this was a little loose until it became tight against the desk.
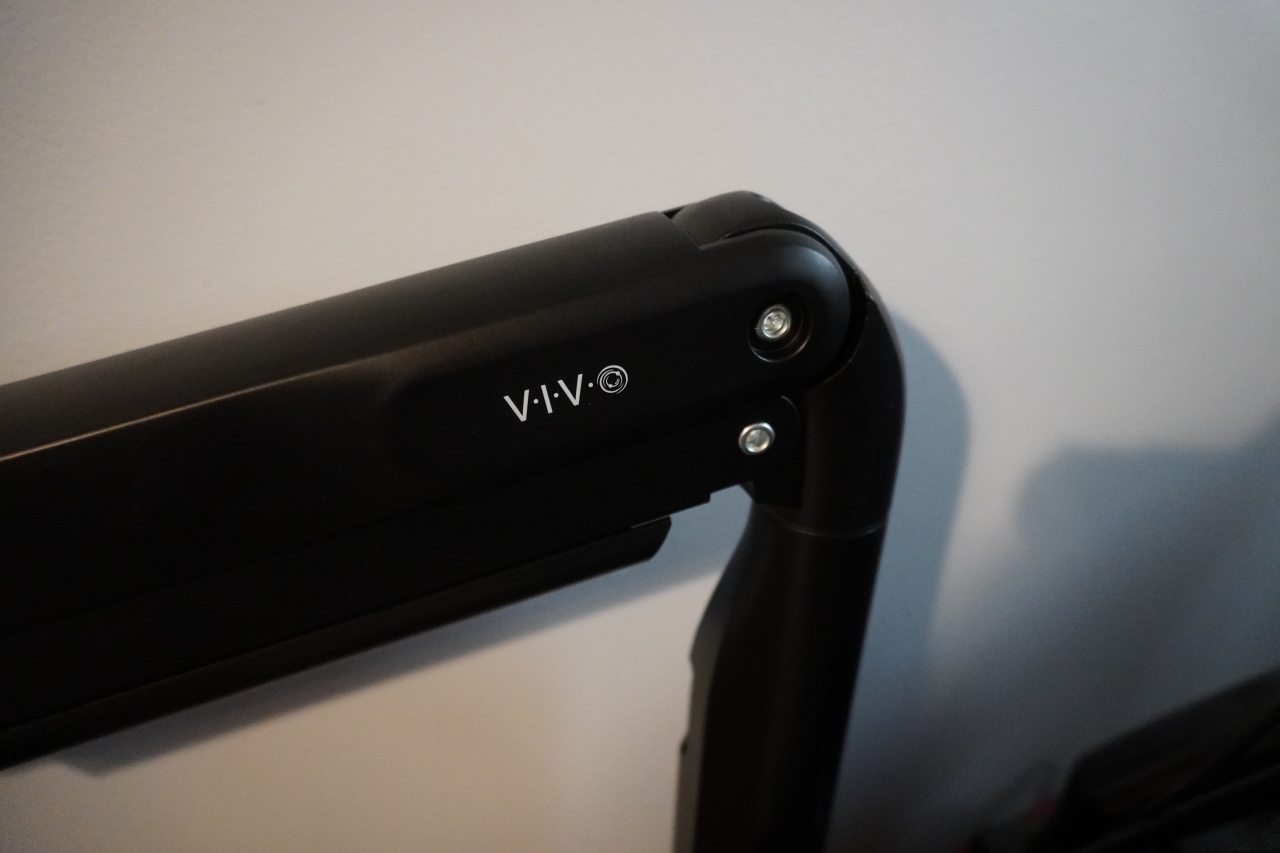
With the base secured, the next step was to place the bottom of the arm into the top of the stand. These parts fell into place with a little jiggling, and they felt very secure once in place. A tiny screw in the back of the stand then had to be tightened to help lock the arm in place.
My favorite feature of this mount was the detachable mounting plate for the monitor. Once the plate was screwed into the monitor, it simply clipped into a retaining bracket on the pneumatic arm. Applying pressure to the bracket would then allow it to be detached. This is a solid mount, and makes it so much easier to mount a monitor without the need to hold the monitor in the air while fiddling with the screws in the back.
Once the monitor was attached, the final step of assembly was adjusting the tension on the pneumatic arm to support the weight of the Gigabyte M34WQ. When adjusting, it’s important not to over-adjust – the arm should be able to freely hold the monitor no matter how much height is applied to the monitor. If the monitor falls or rises from the position it is placed in, the tension still needs further adjustment.
Final Thoughts
This one of the best monitor mounts I’ve come across in the sub-$100 category. It is very well-built and feels very solid once installed. I wasn’t prepared for how big this mount was going to be, despite the support for 49” screens. When working with multiple monitors, I’m not sure how many of these could be used together to support more than two monitors on an average-sized desk. I had to move the mounts for my other two monitors to fix everything in place on this desk.
Assembly was a breeze, and I’m incredibly thankful for the detachable mounting plate for the monitor – this makes attaching the monitor to the stand so much easier than stands I’ve dealt with in the past. I still need to utilize its cable-management features to route some of my cabling, but that might wait until I’ve replaced the desk.
Overall, this stand is a must-have for ultrawide monitors. It frees up the desk space that stock monitor stands take up, and has a fantastic range of height and tilt that will allow users to adjust it to their specific viewing angle.

4.5 / 5.0
OVERALL RATING
5.0
Compatibility
5.0
Features / Purpose
4.0
Ease of Use
4.0
Aesthetics
Pros:
- Very
Cons:
- Bottom